The Essential Gear for Headshot Photography: A Comprehensive Guide
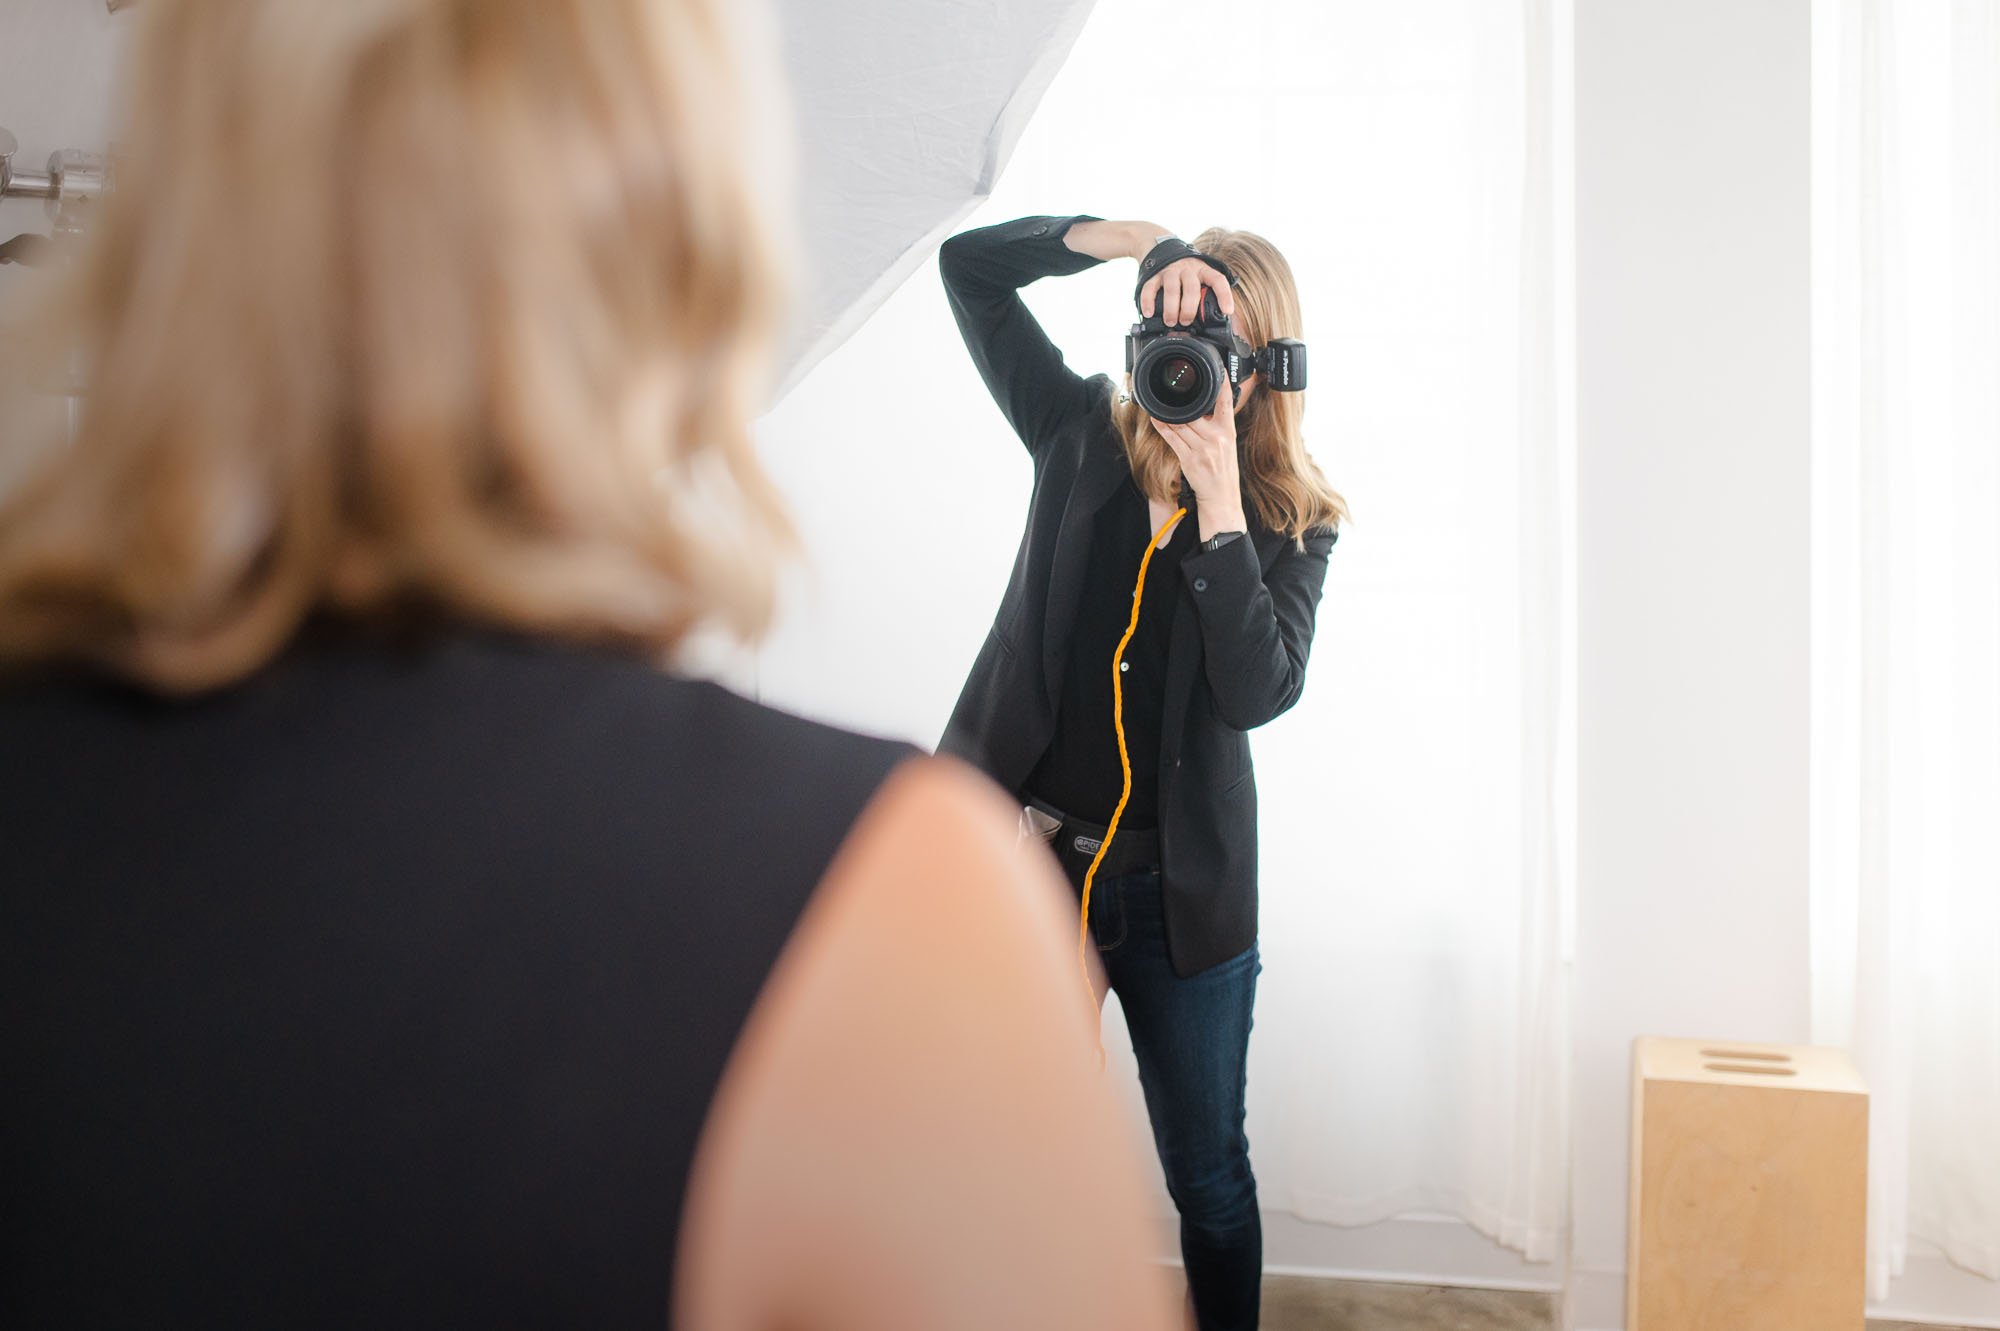
If you’re just starting out with headshot photography, it can be hard to know what photo equipment you actually need, what’s worth investing in, and what isn’t actually required at all. As a professional photographer who works both in Studio and on location, I have over 10 years experience buying equipment and using it for my business. There have been plenty of times when I’ve purchased lenses and lighting that didn’t actually serve me in the end, and all those costs added up for sure.
This Blog post is all about what camera, lighting gear, and accessories you' need when starting out as a headshot photographer and how to best invest in your new photography venture in a way that is smart, frugal, but will also get you the best results.
Why Quality Gear Matters
As a headshot photographer, a certain amount of professionalism is expected. Because you’re working with companies and business professionals, the first impression has to be a good one. Not only that, but the results you provide need to be better than an iPhone shot that someone can take on their own, otherwise there’s no reason for your clients to work with you!
So what’s quality gear? It doesn’t actually have to be super expensive. Nowadays, the cameras, lenses, and lighting are all pretty good, but it’s still important to choose your gear wisely so that it lasts many years without needing to upgrade down the line.


1. Your Camera
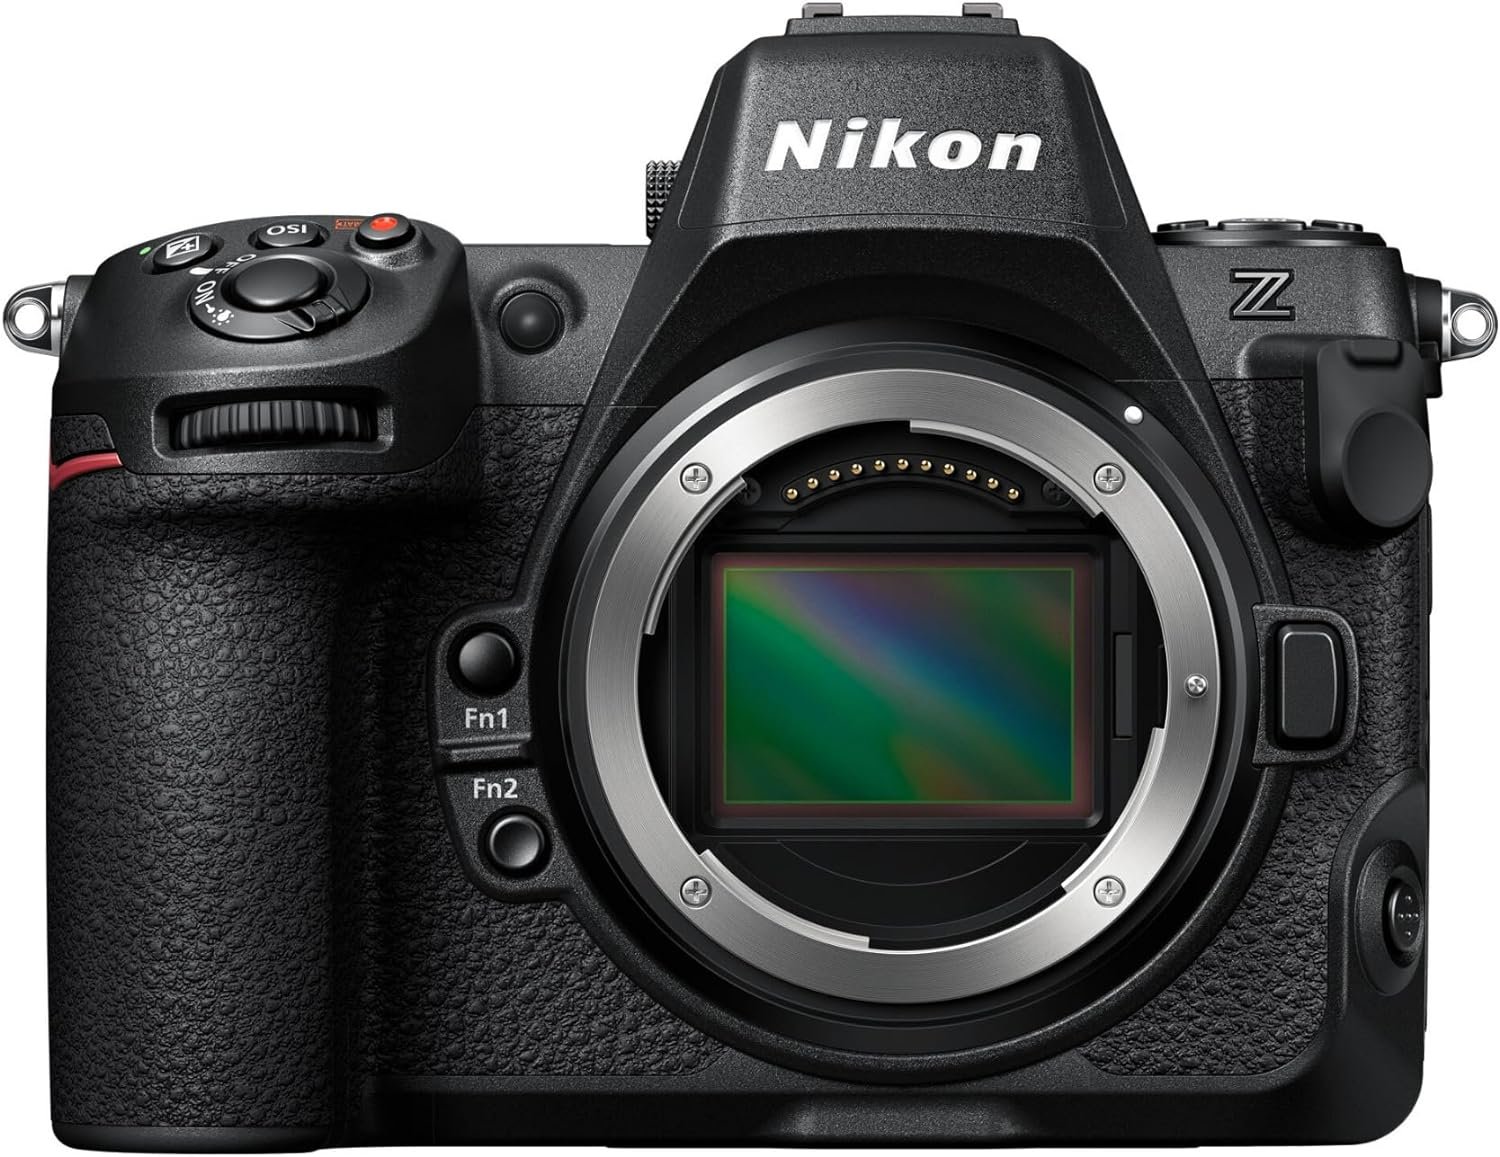
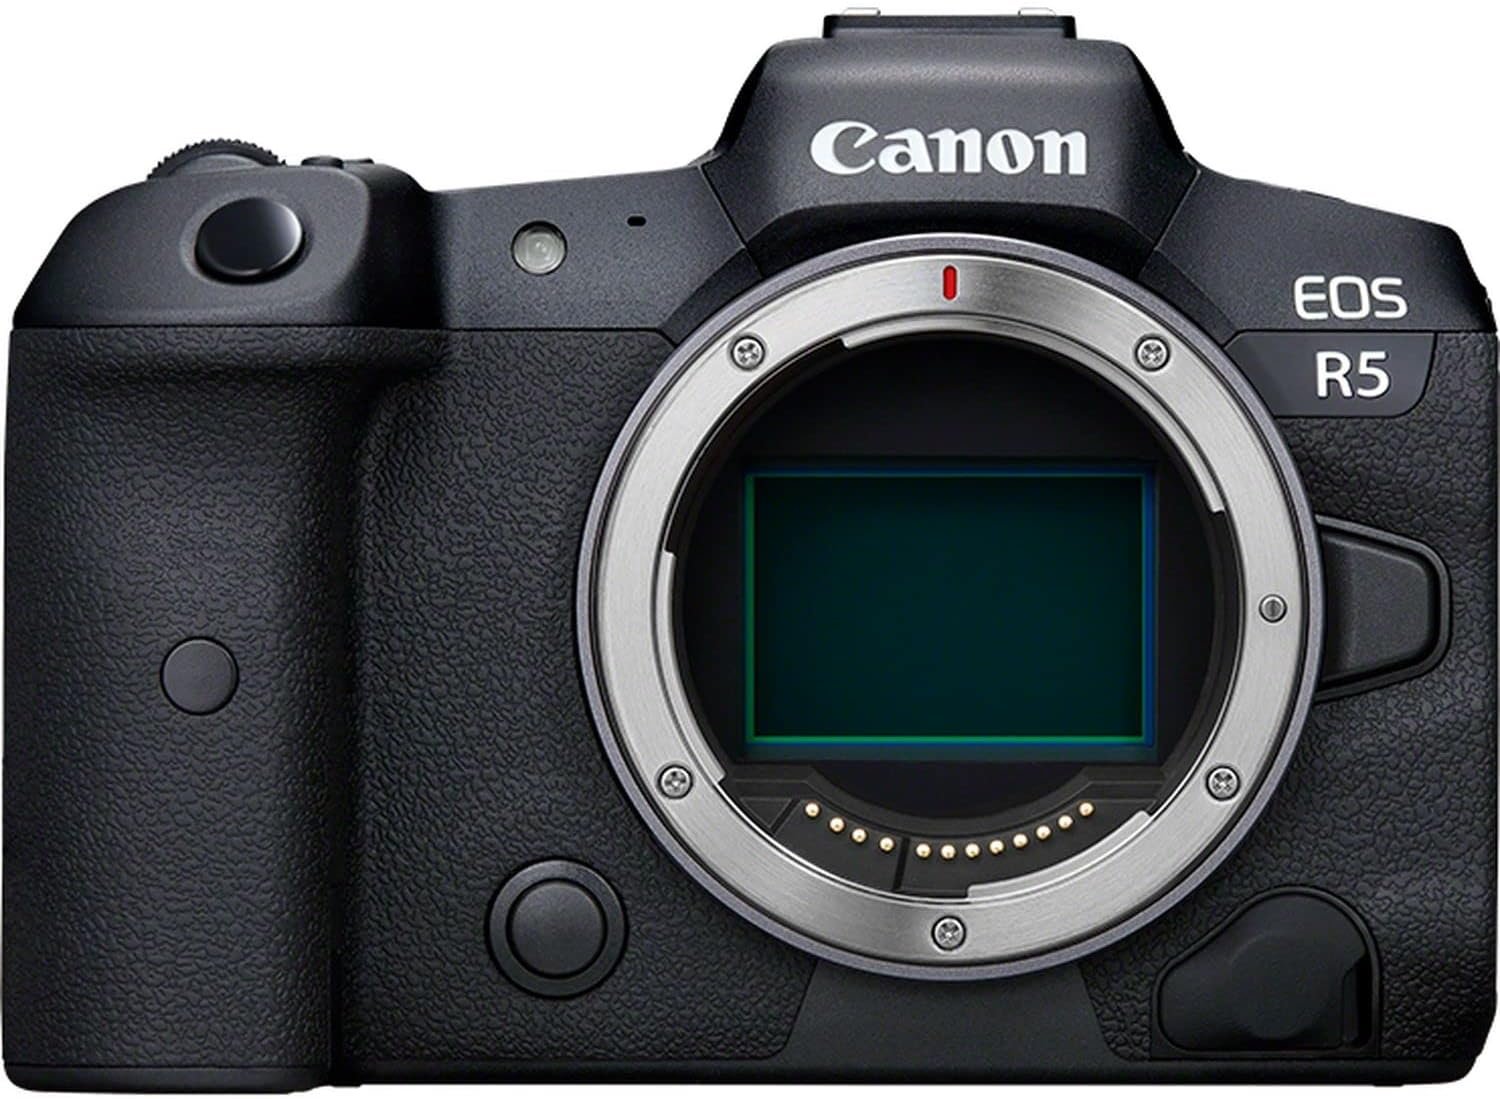
If you’re upgrading your camera body or buying your first one, you can go straight to a mirrorless system. Stick with the brand names (Nikon, Canon, Sony) that allow the best compatibility with tethering in Lightroom or Capture One. If you’re currently rocking an older camera, it might actually be totally fine to keep using it. I highly recommend a full-frame sensor body as the baseline for better dynamic range and resolution, which usually retail around $2-3,000. And feel free to buy used to save some dollars.
If I was starting from scratch, I would invest in either the Nikon Z8 or the Canon R5 if I was buying new. The best part about having a mirrorless camera is face/eye tracking which makes taking headshots super easy. You can leave your camera on a tripod for the entire session and every image will be sharp and in focus because the camera will follow the eye of the person and not the little pre-determined focus point.
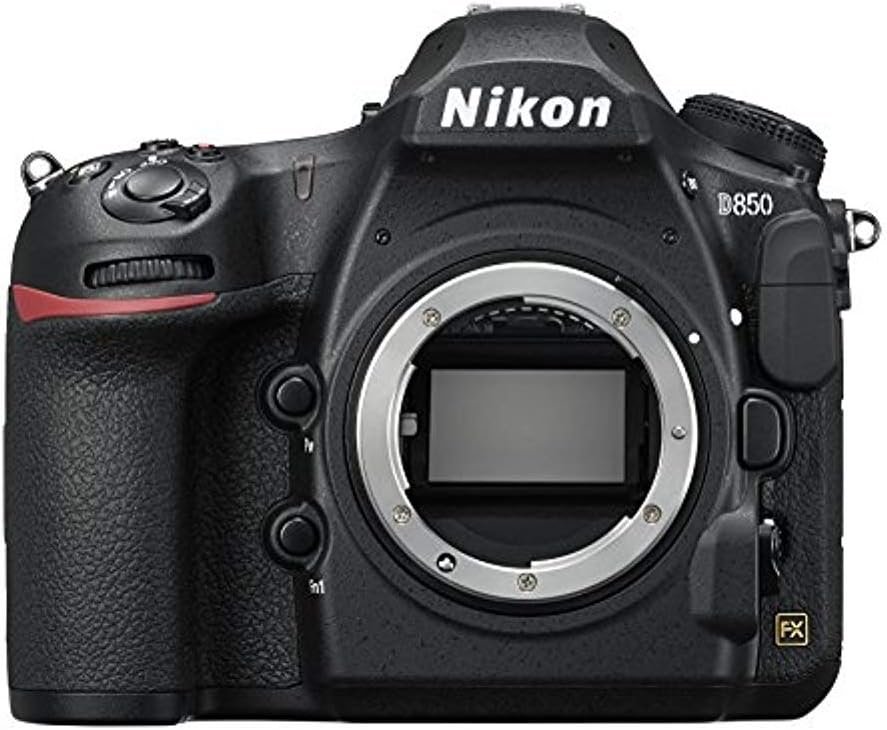
Personally, I currently still use my Nikon D850 for all my professional work since I purchased it in 2019. There’s really no reason for me to upgrade as that camera body is more than sufficient at capturing great portraits and headshots… and if that’s what you have, you can safely keep going without needed to splurge on a more recent camera.
The one thing to keep in mind is that you probably don’t want to show up with a small crop sensor format camera to a professional headshot job. I have no doubt that the camera is more than capable, but the perception of something that small is that it’s not professional quality equipment. Events and weddings require smaller camera bodies for comfort over length of use, but for headshots, clients will be more impressed (and perhaps comforted) with a bigger camera taking their photo (sad but true).
2. Lenses
The lens is probably even more important than your camera and will easily last you a decade or more.
Most headshot photographer prefer an 85mm focal length or longer. Personally I use a 50mm lens because I know I will always have enough room when setting up in a tight space (like a conference room or my own Studio, which isn’t big). If you have the luxury of 10+ feet, you can go for an 85+mm lens, etc. And yes, I prefer fixed primes for best quality, but you can certainly have a 70-200mm lens that covers all the scenarios if you don’t mind the weight or the price.
Invest in ONE great lens that you can use for all your headshot sessions. That’s really all you need.
If you’re not sure what to buy, visit a camera store like B&H Photo Video in NYC or a local photo shop that will let you touch/view lenses you’re considering. You can also do this at any photo conference that has an Expo show floor and will likely have all the major camera companies showcasing their lenses and equipment.
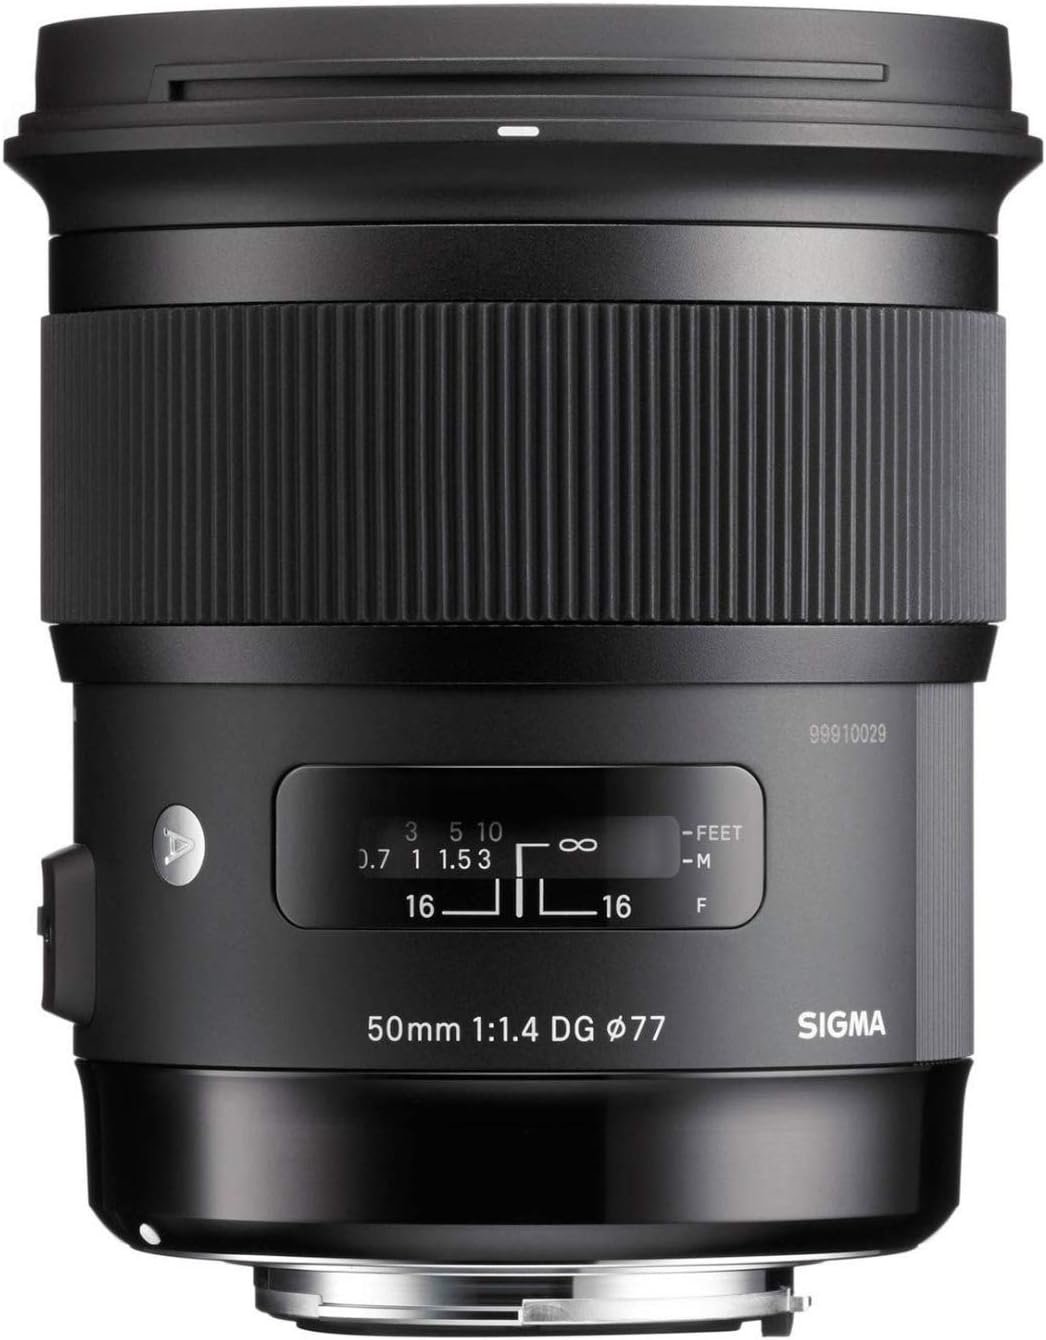
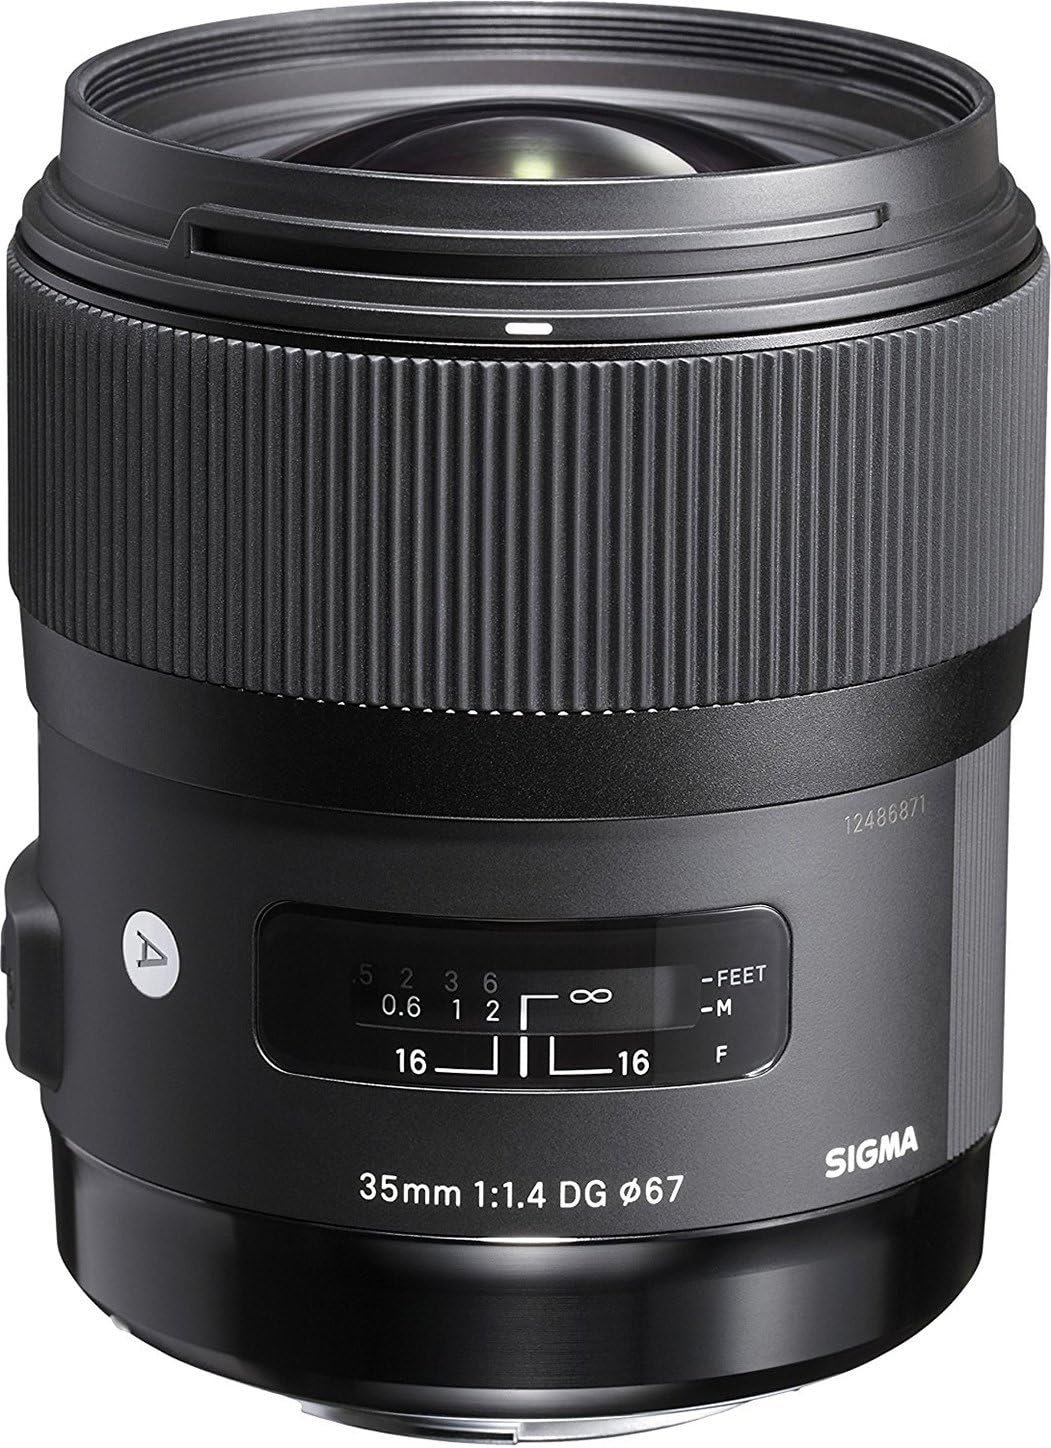
So what do I use? The Sigma 50mm 1.4 DG HSM Art lens pretty much stays on my camera at all times. It never misses focus, is always tack sharp, and allows me to capture head/shoulder headshots and waist-up professional portraits in pretty much any space. I keep a Sigma 35mm Art lens handy as a backup (in case I need to capture a full body portrait) and a Nikon 85mm 1.4G for anything outdoors (where I know I’ll have plenty of room to back up). The 35mm and the 85mm aren’t as sharp or reliable as the 50mm, which is why I really could have 1 lens without needing anything else.

3. Lighting Equipment
I will choose strobes and speedlights instead of constant lights for headshots any day. Constant lights are fantastic if you’re not proficient with artificial lighting, but tend to run hot, don’t really have enough output if you want to overpower the sun streaming through a window or a bright light overhead, and are often too bright for sensitive eyes, like mine. You can have a really small lighting kit with just speedlights or get a big fancier with a bigger strobe as your main light - it’s really up to you and there are many options to choose from.
For headshots, you don’t need a complicated setup. In fact, the most complication is actually around lighting the backdrop. I use a primary main light and then a simple speedlight for background. I can get more complex with having 2 additional softboxes to light the backgdrop, but it’s really not necessary. In fact, if you’re doing backgrounds digitally, you can get away with having one primary light only.
An important part of this, however, is having reflectors.
While you only need 1 main light, bouncing and controlling that light is imperative. You can use a reflector positioned below the person to fill in the shadows on the face and you can use a white reflector opposite the main light to fill in those shadows as well. After everything is in place, you get a bright and beautiful image without the need for complicated and expensive lighting equipment! (more on this in the “backdrops and stands” section below!)
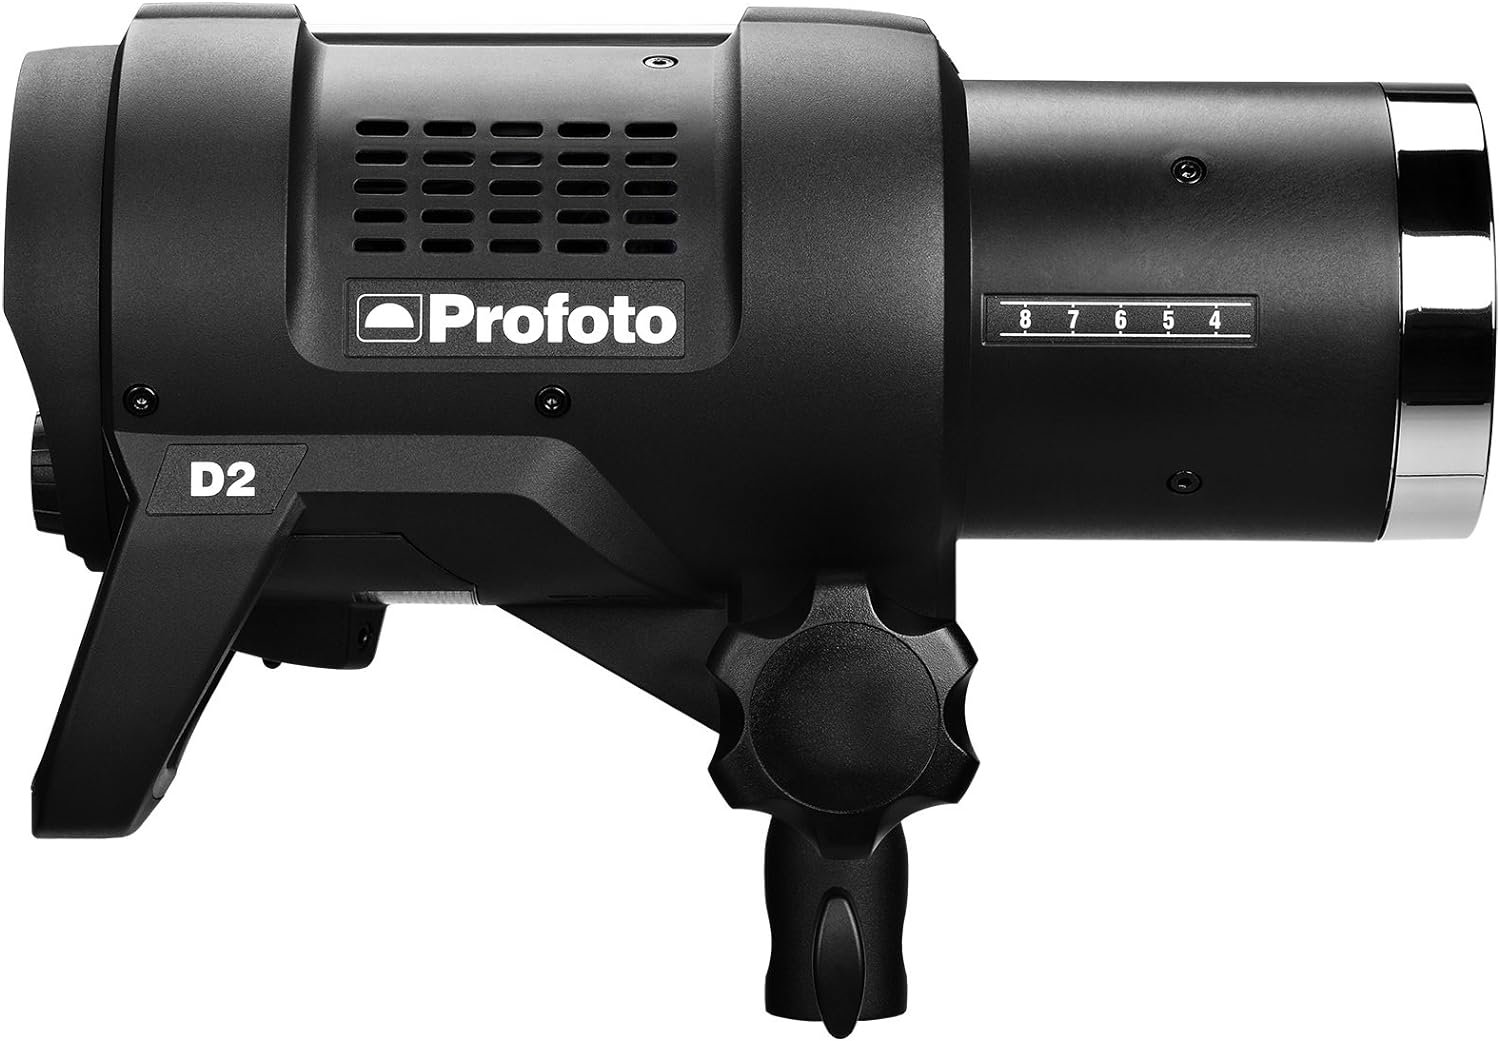
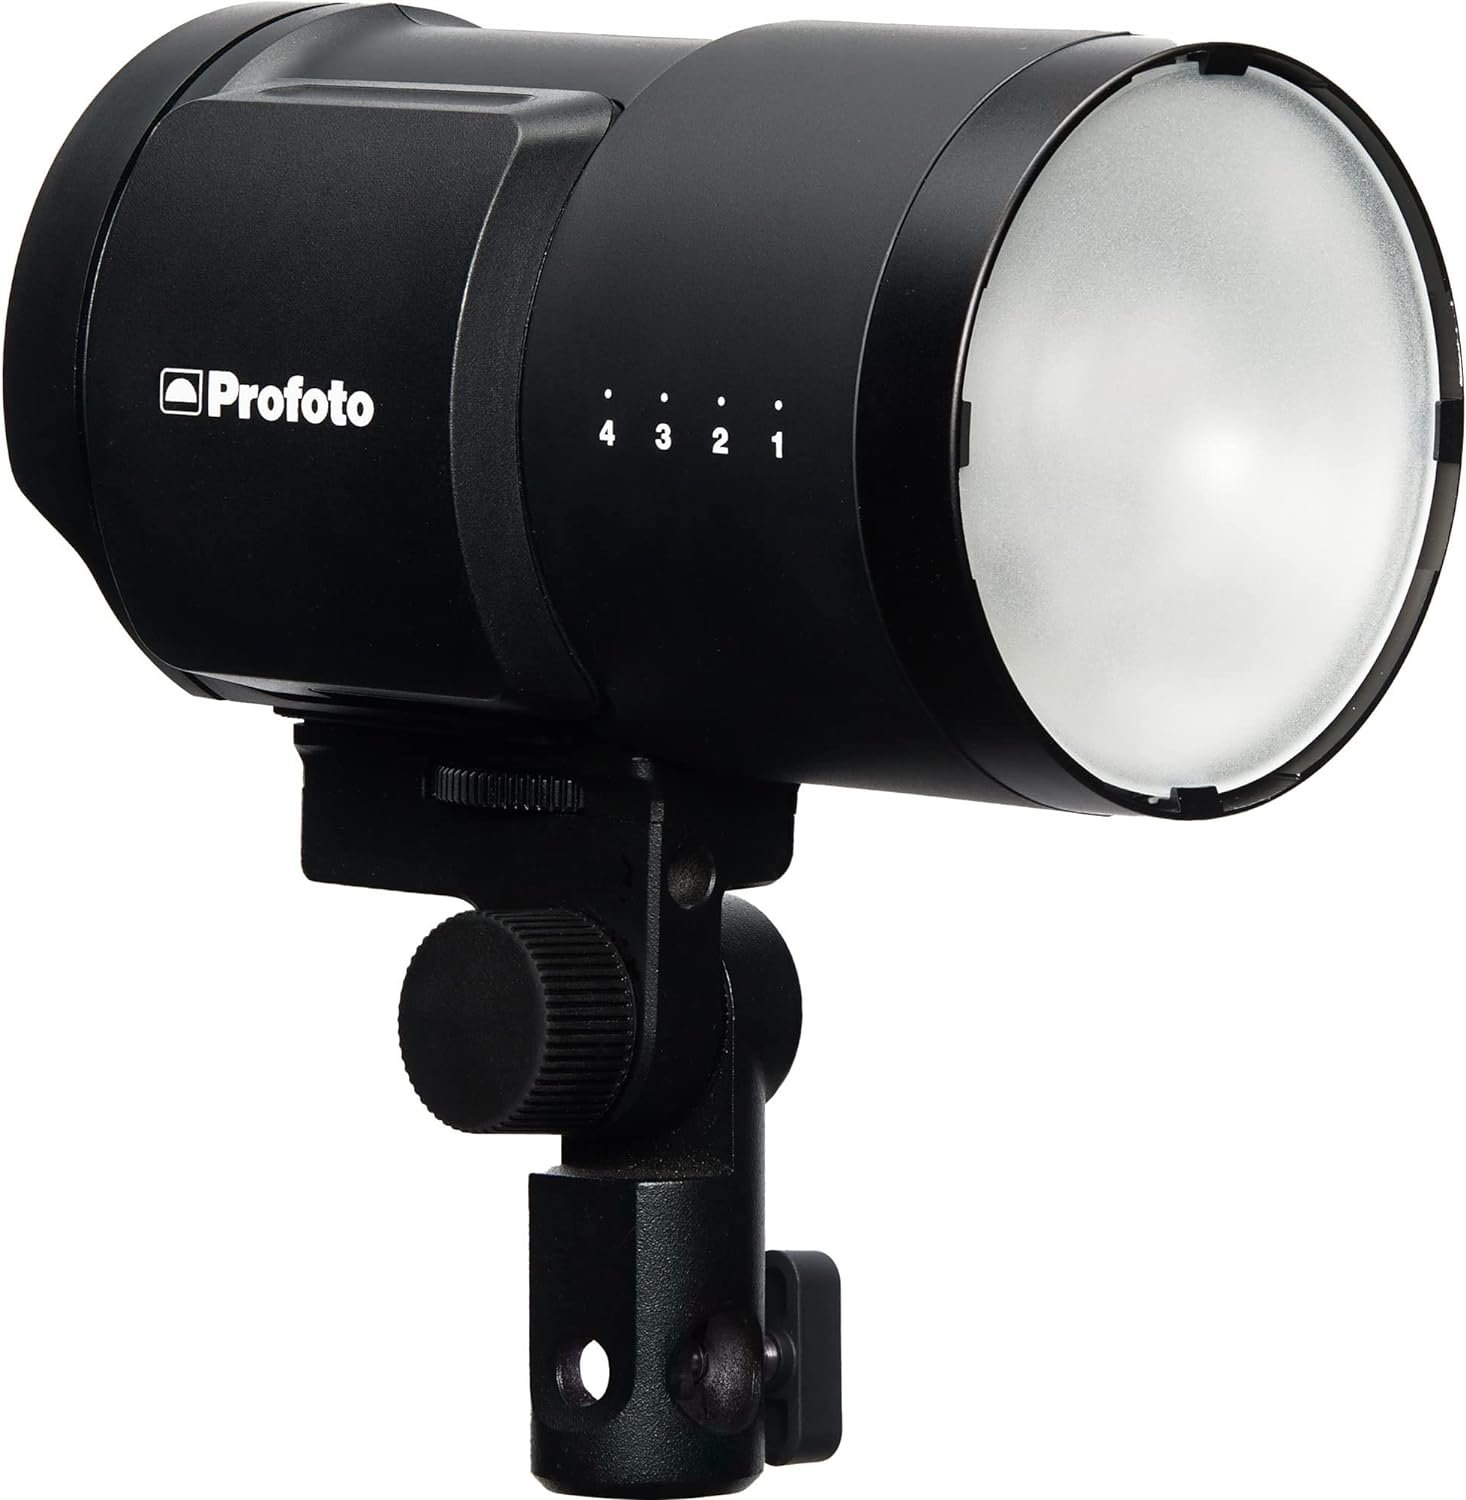
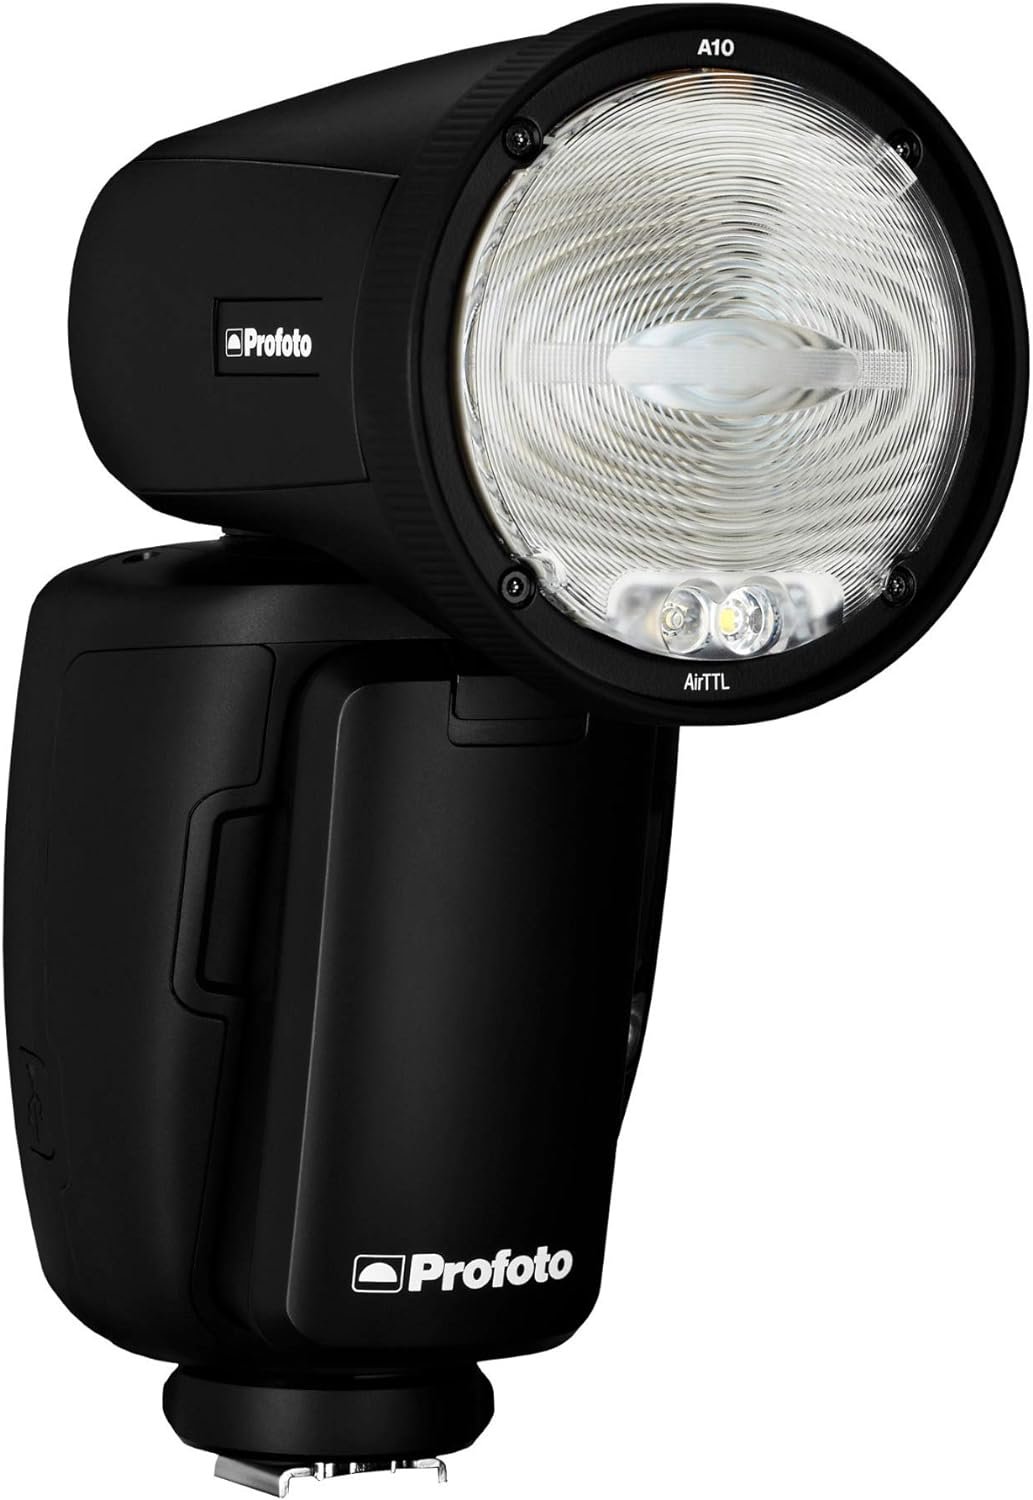
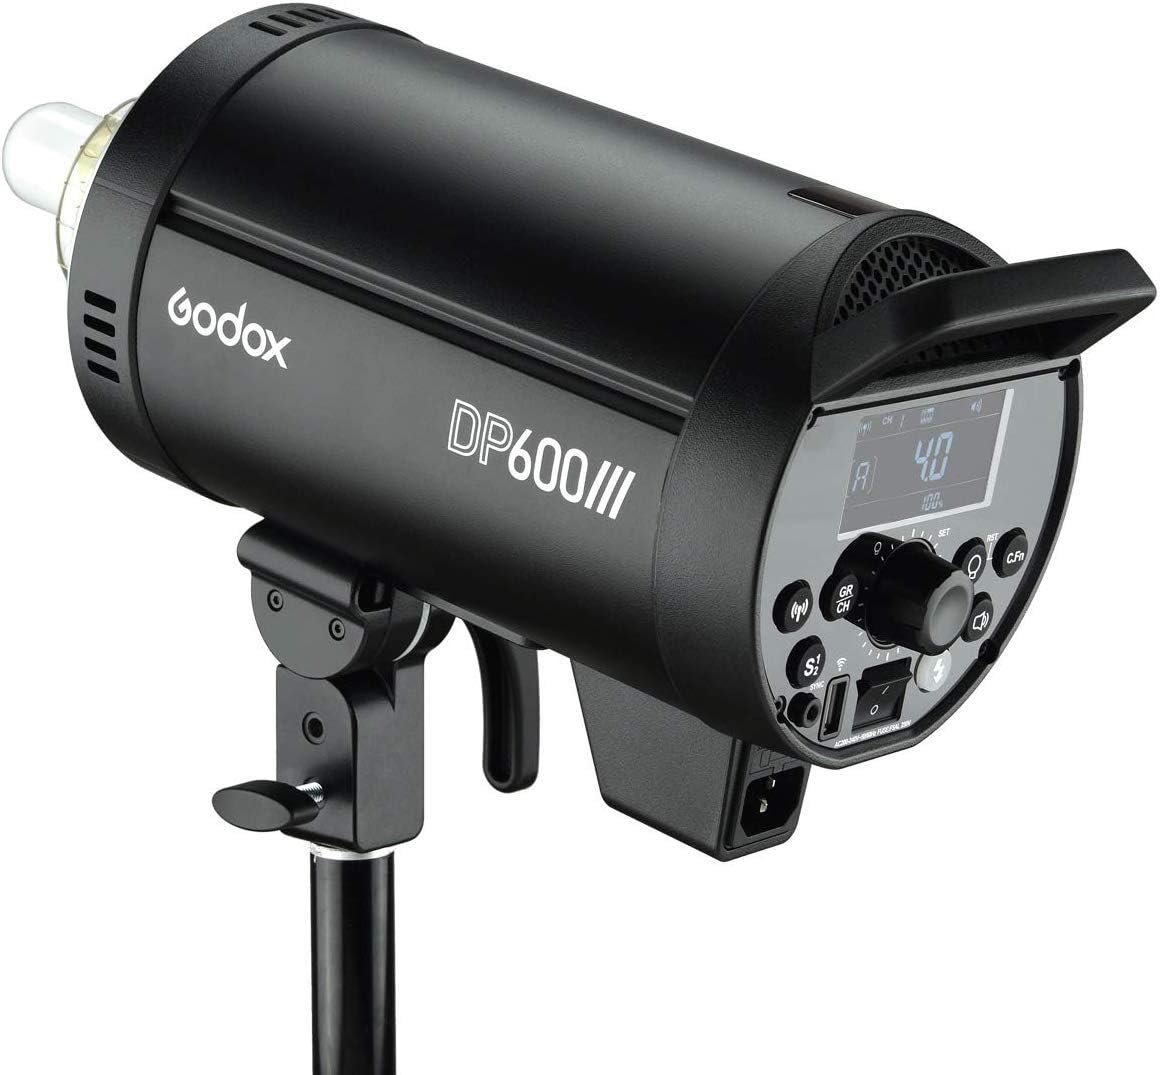
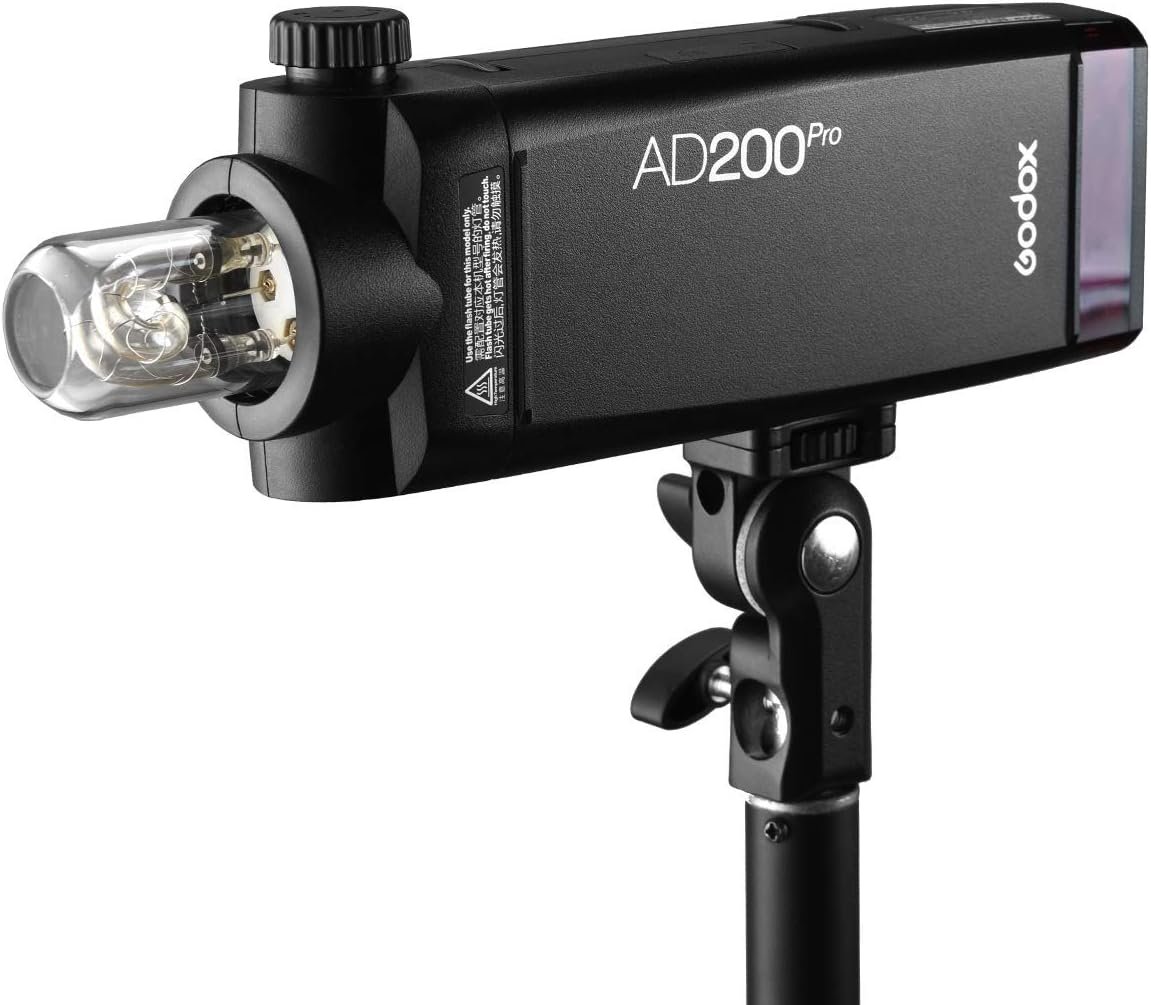
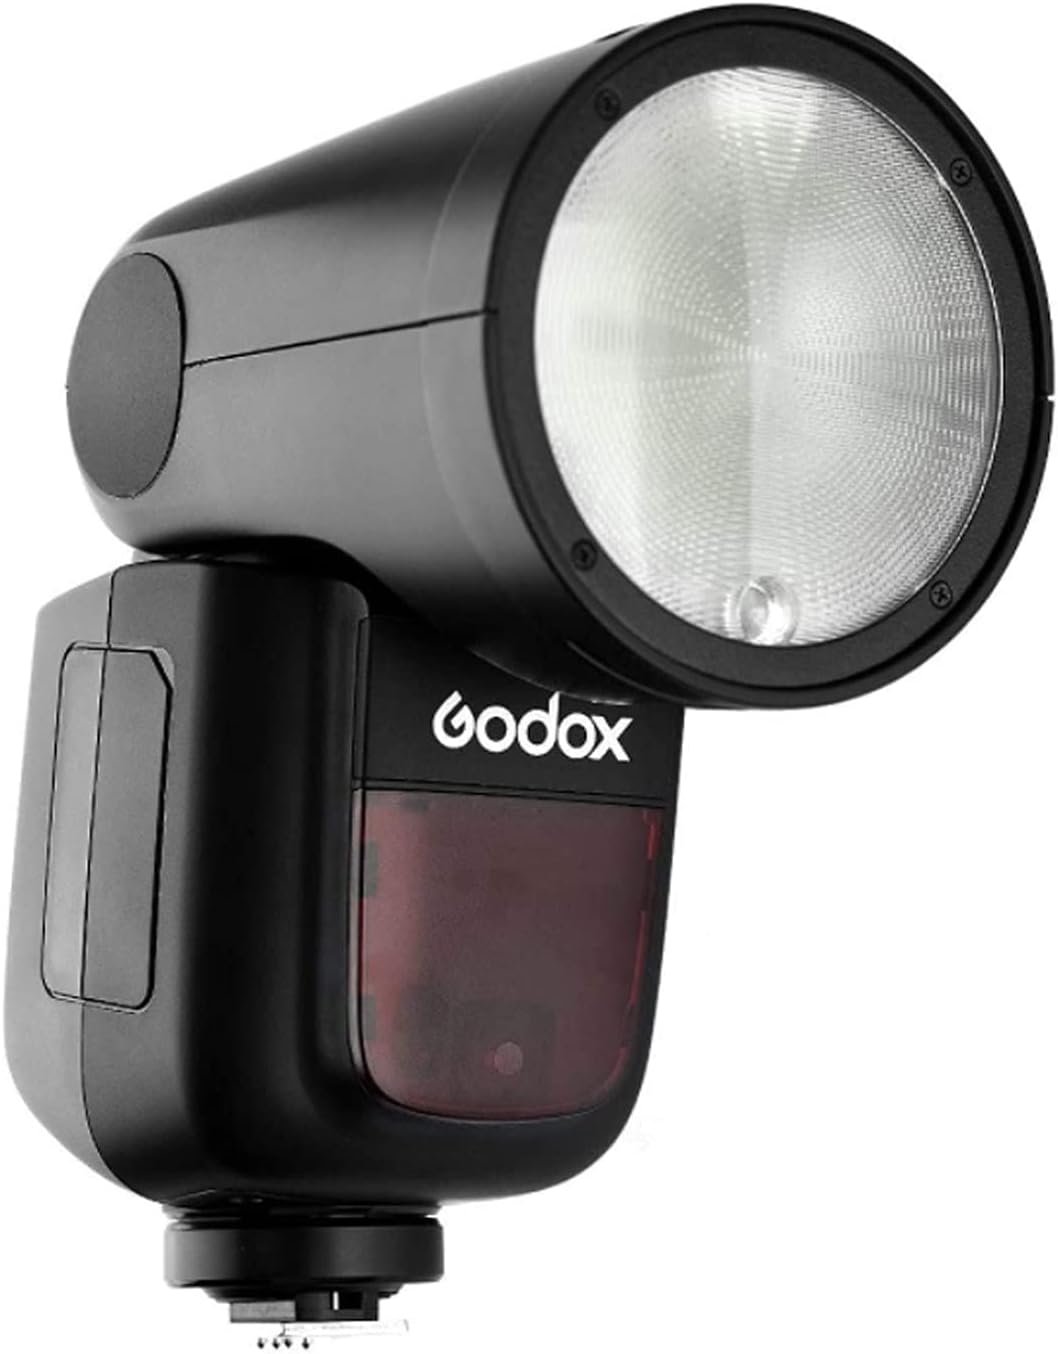
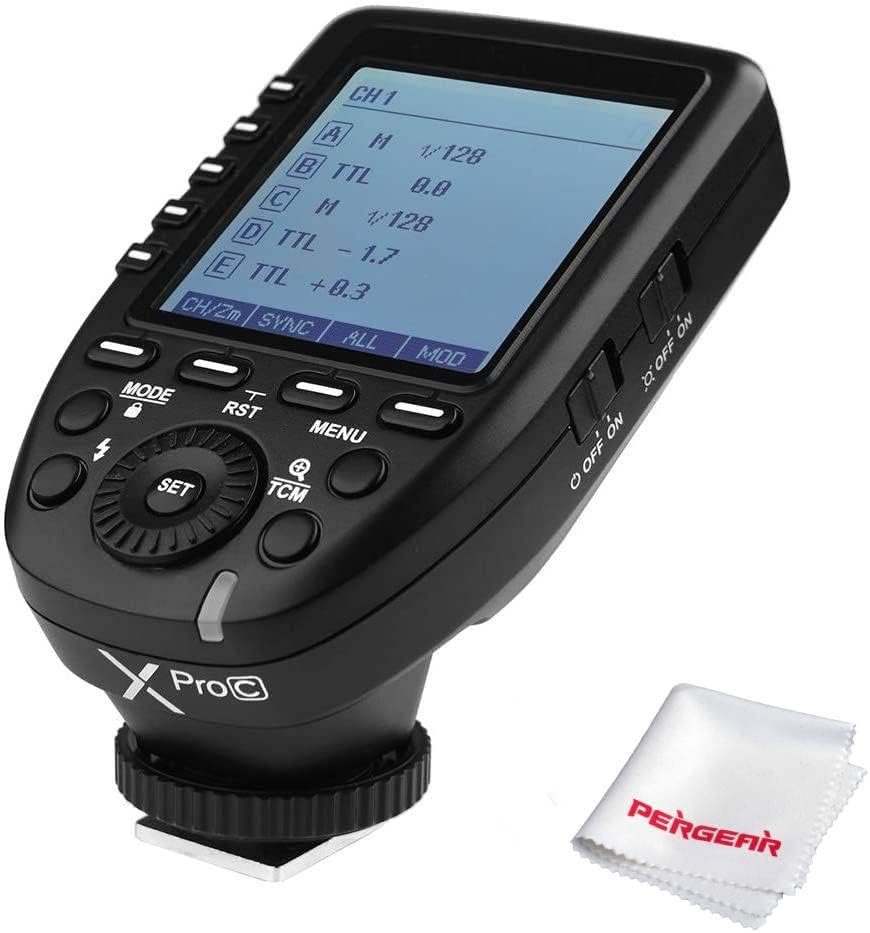
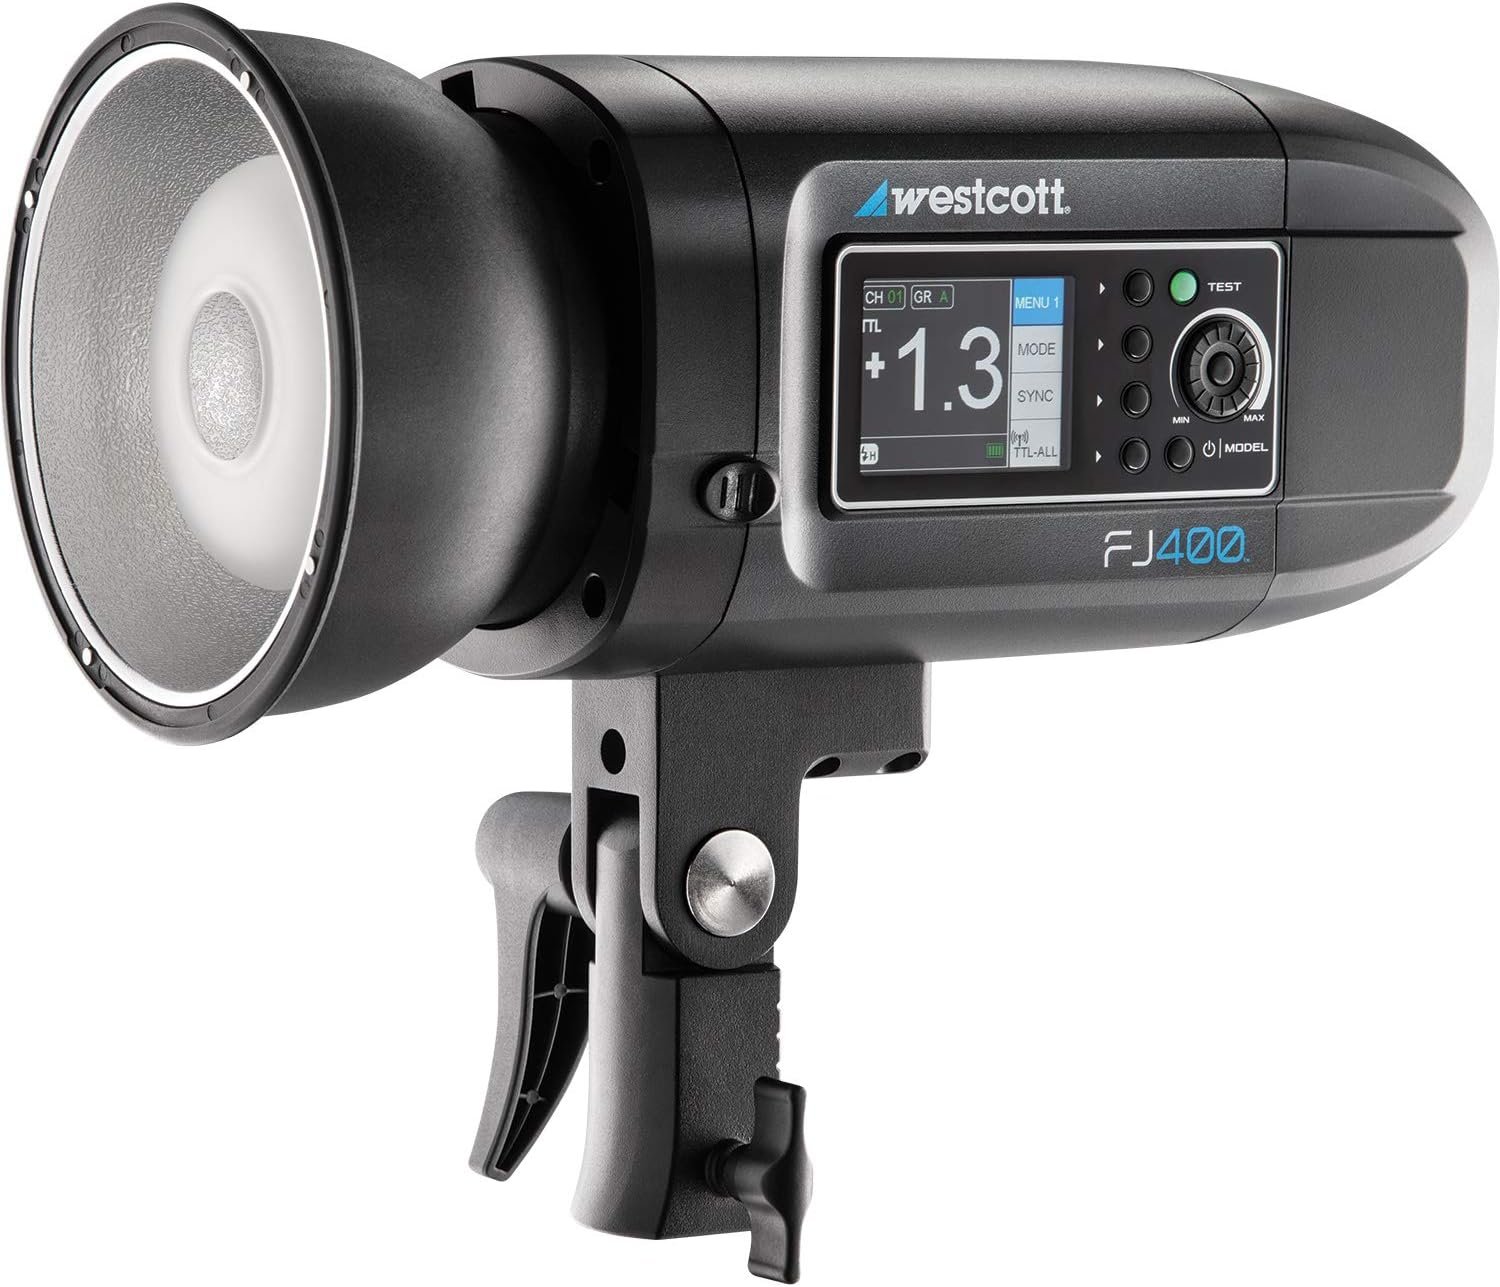
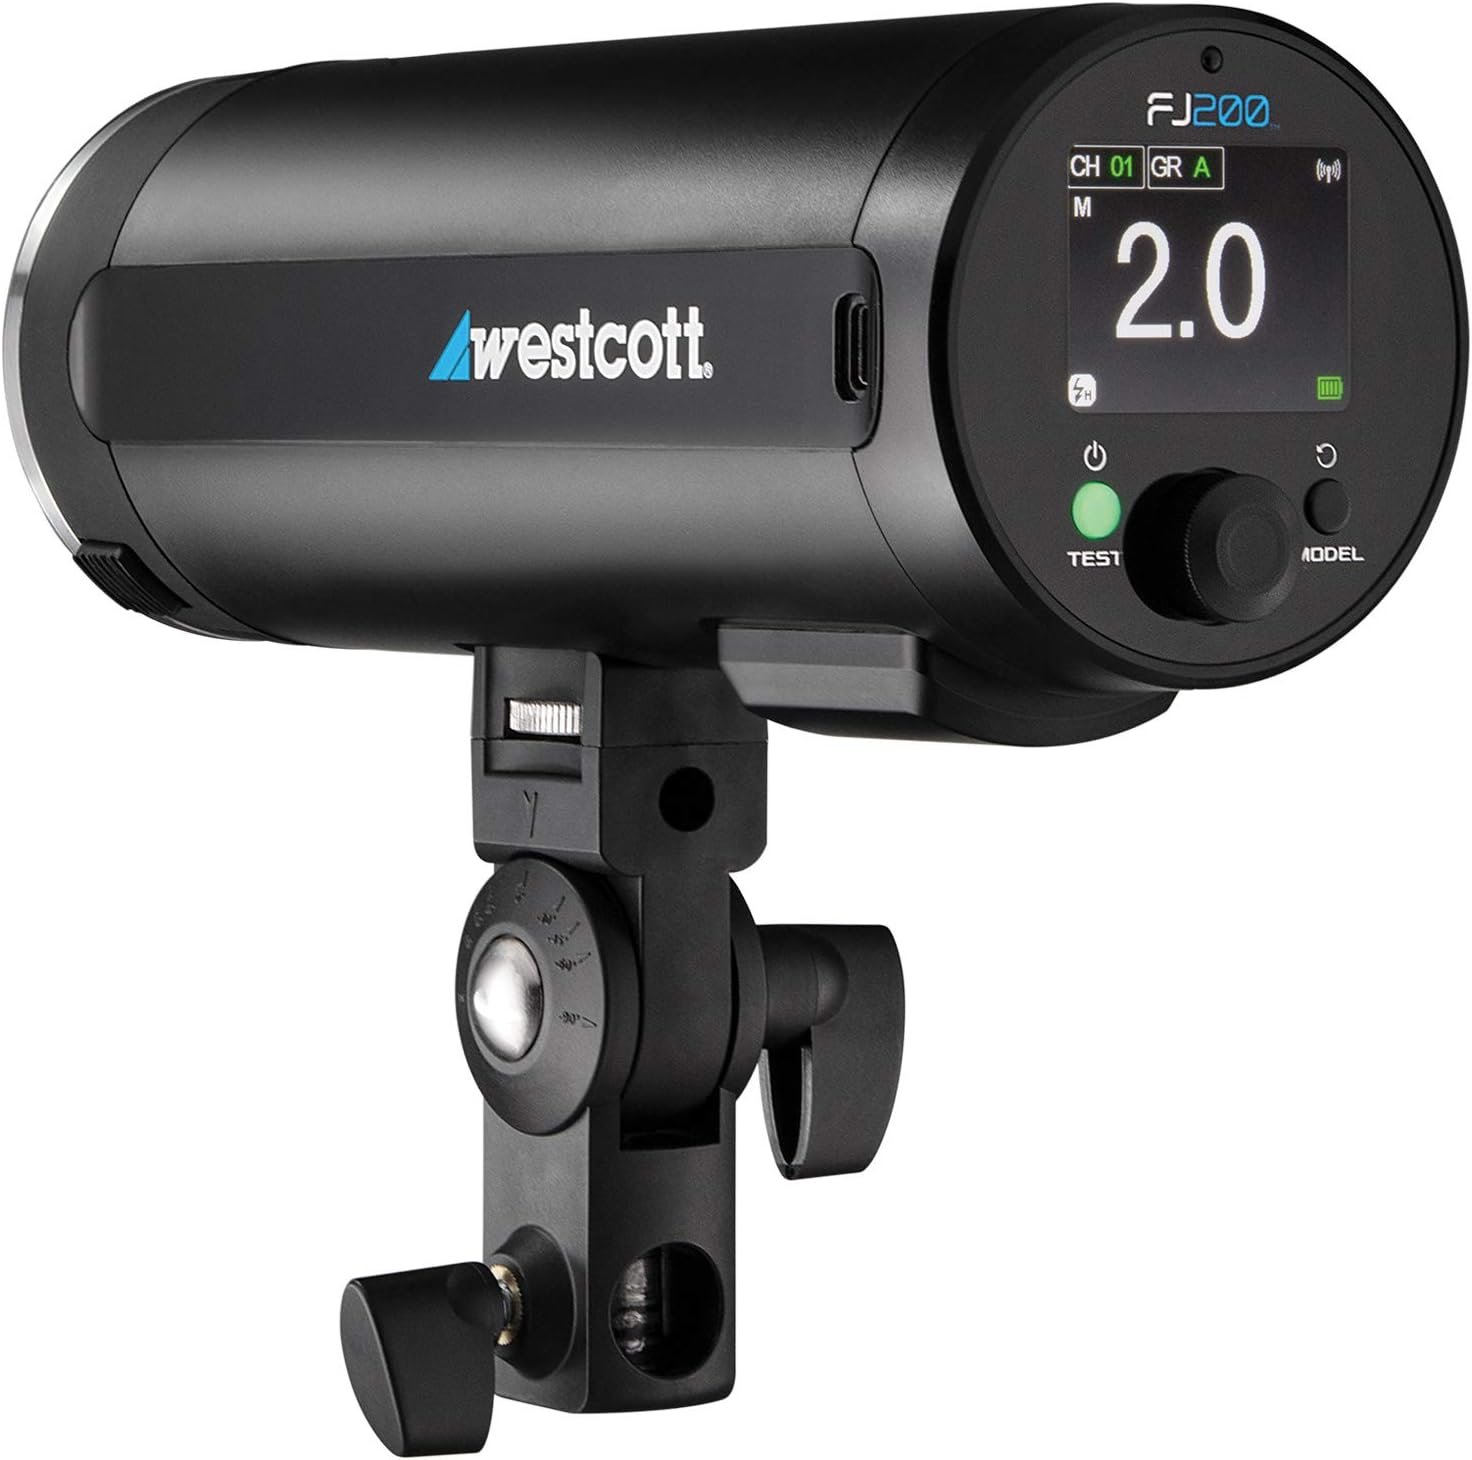
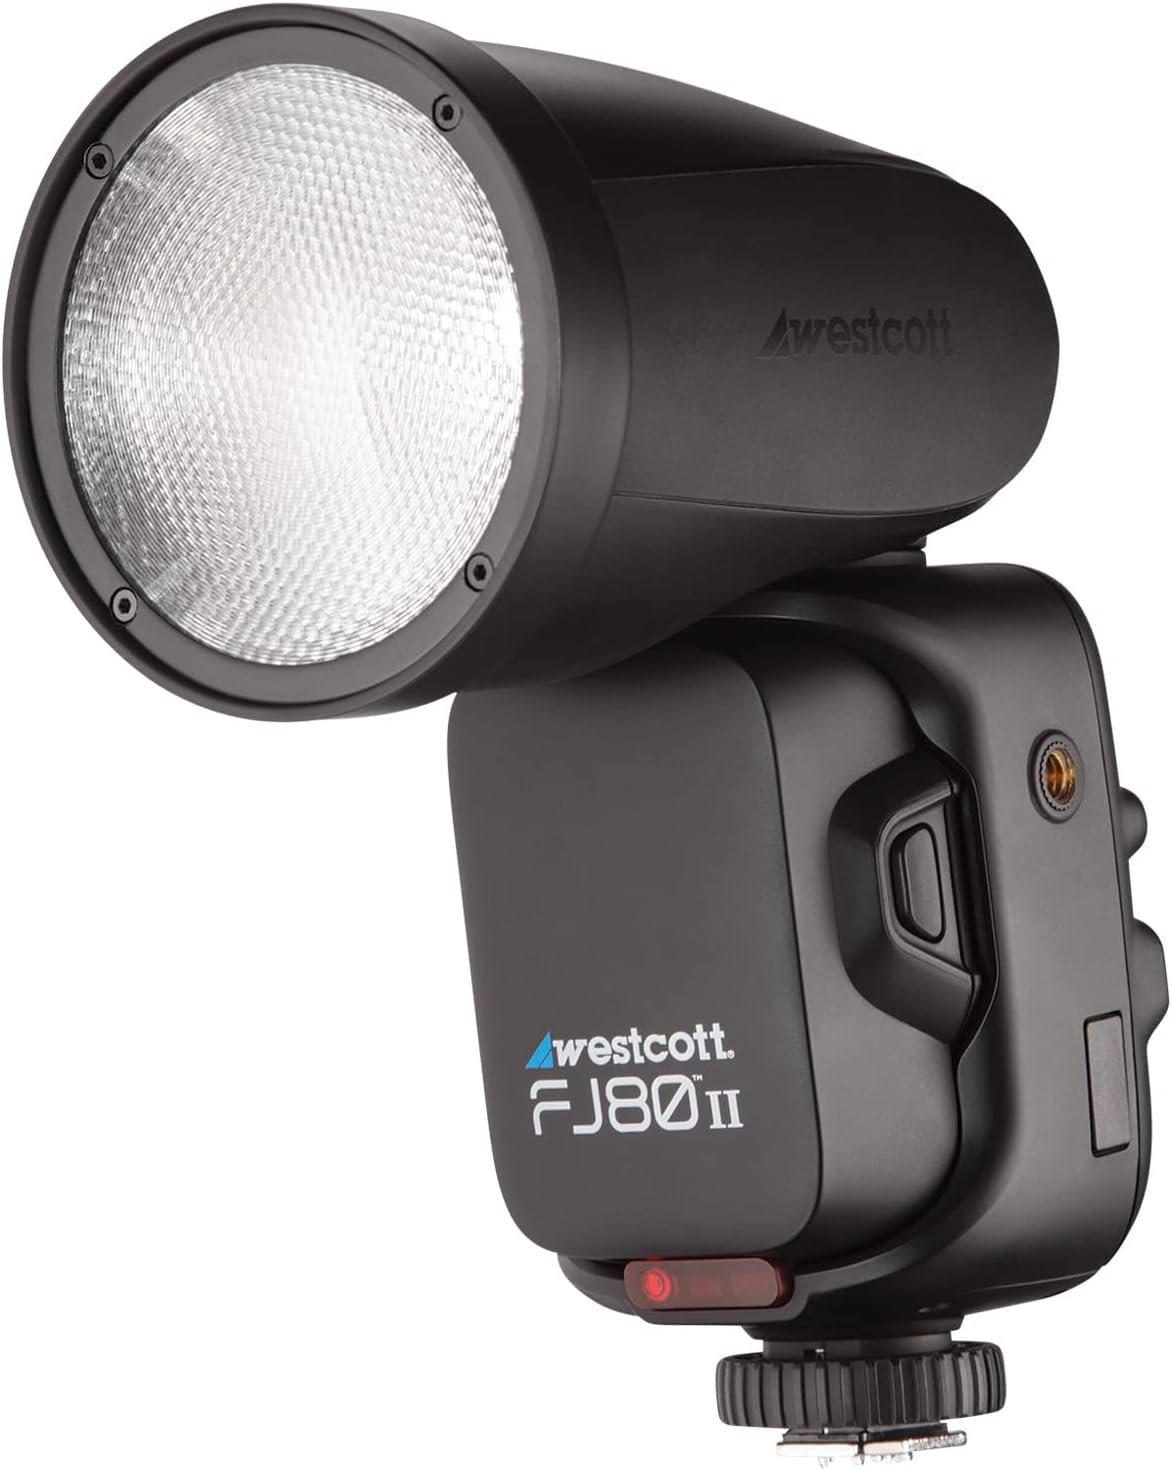
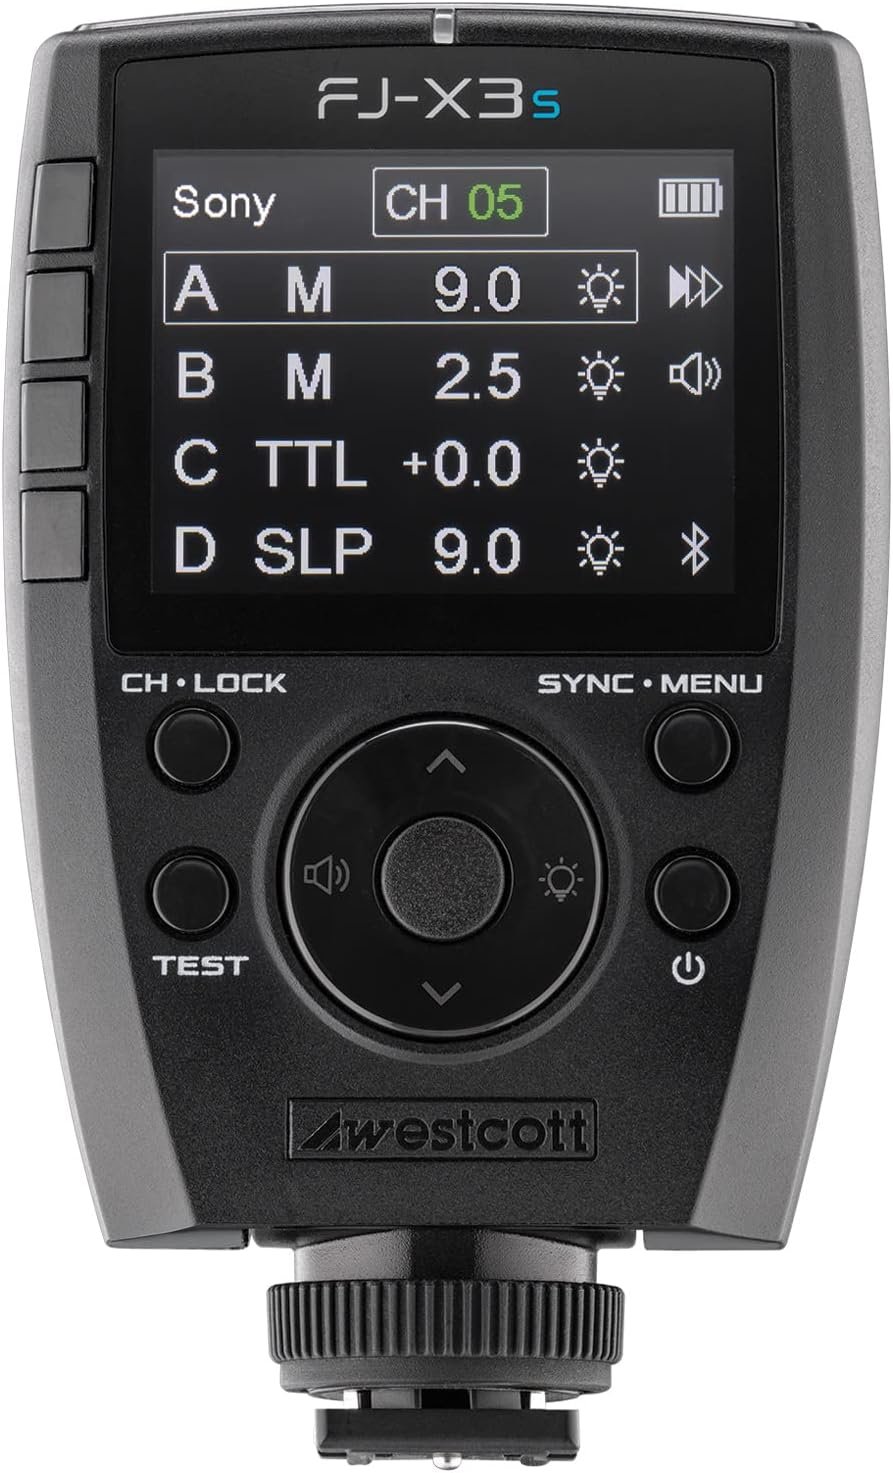
Personally I use Profoto lights, but I know plenty of headshot photographers who love their Godox or Westcott (which are about 1/3rd the price!). Why the huge price difference? More expensive flashes have faster recycling time, more accurate and consistent color temperature from shot to shot, and are made to last longer (aka can take a beating). And don’t forget, you’ll also need to buy a trigger so that the camera can tell the flash(es) to fire when you take your photo.
Below are options for main light (plugin, about 600-400w), mobile main light (battery, about 200w), and backgdrop speedlight (about 80w) from each company.


4. Backdrops and Stands
While I have a completely different setup in the Studio vs on-location, I will focus on equipment that can serve both purposes as that’s probably the best approach when just starting out.
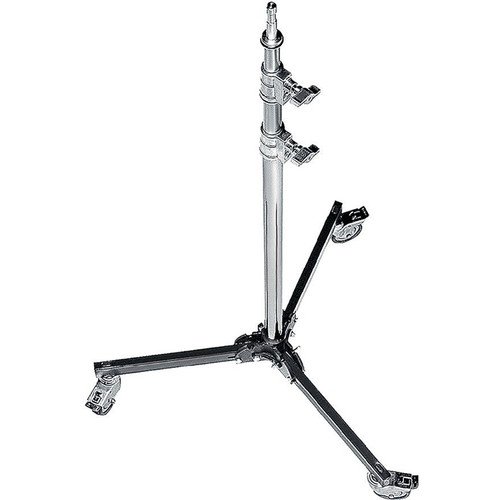
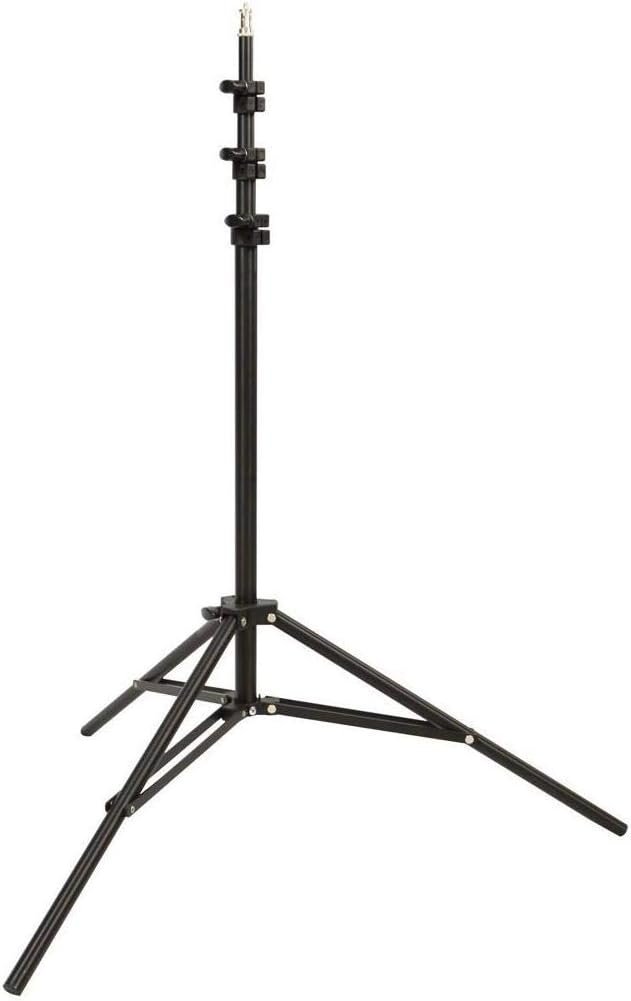
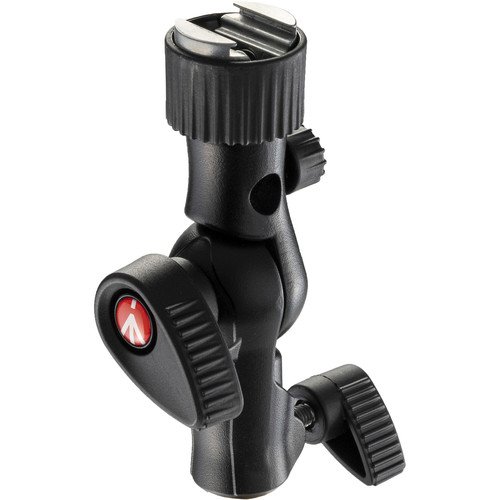
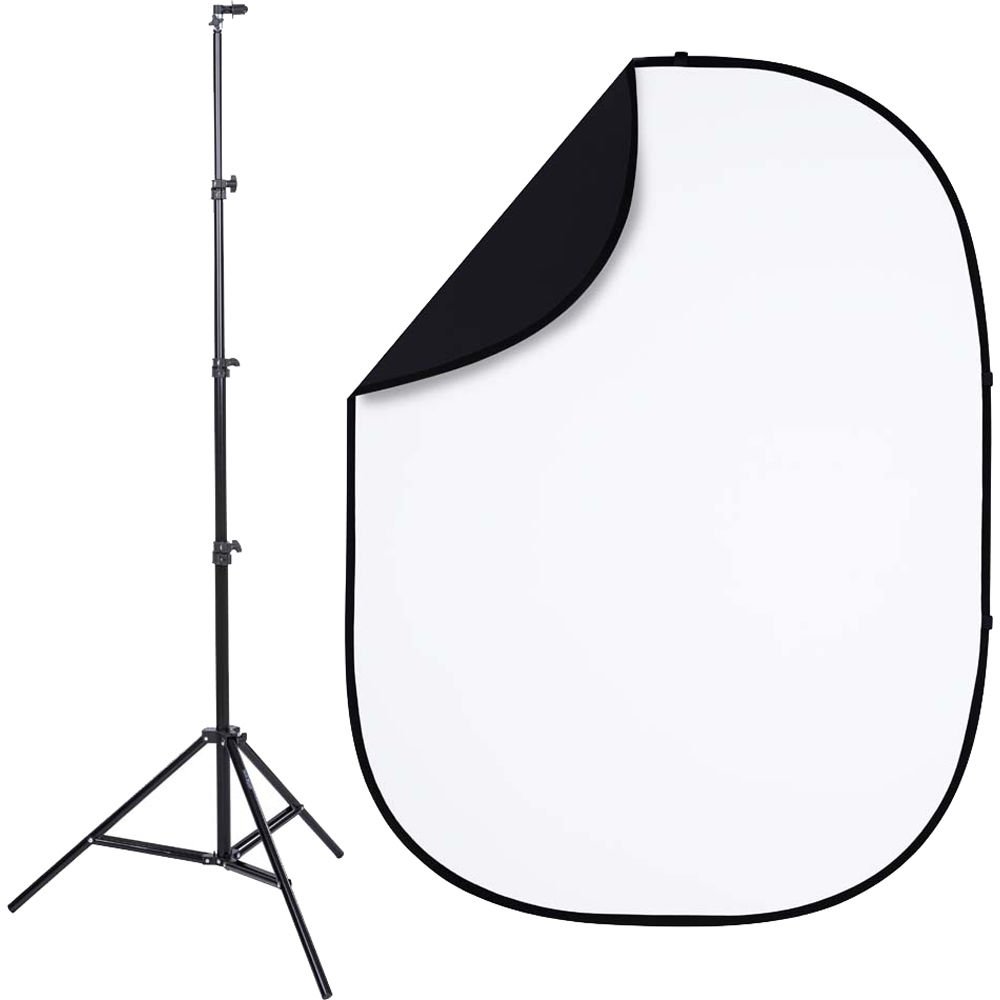
First, you’ll need a sturdy light stand for your main light (which will have your 400-600w strobe plus the umbrella with diffusion panel on it - don’t forget a sandbag if things seem unstable). I like the Avenger Roller Stand 17 for this. The key here is to make sure this stand can collapse into a somewhat small package so you can take it onsite but still be heavy enough to handle the load. You’ll also need a lightweight lightstand for your speedlight that will light up the background or serve as a fill light if needed.
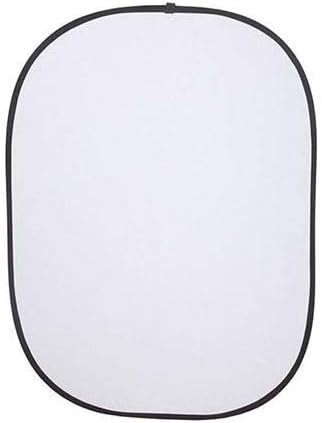
As for your backdrop, you can certainly use seamless paper, but for on-location work I much prefer a collapsible 6-7’ white/black popup backdrop. Watch some YouTube videos so you can collapse the unwieldy thing back into its circle shape before using it, otherwise you will certainly look silly trying to wrestle it back into it’s smaller form, potentially in front of a client. Likewise, I also like having a collapsible 6’ diffuser on hand to act as a reflector or a shoot through screen if needed.
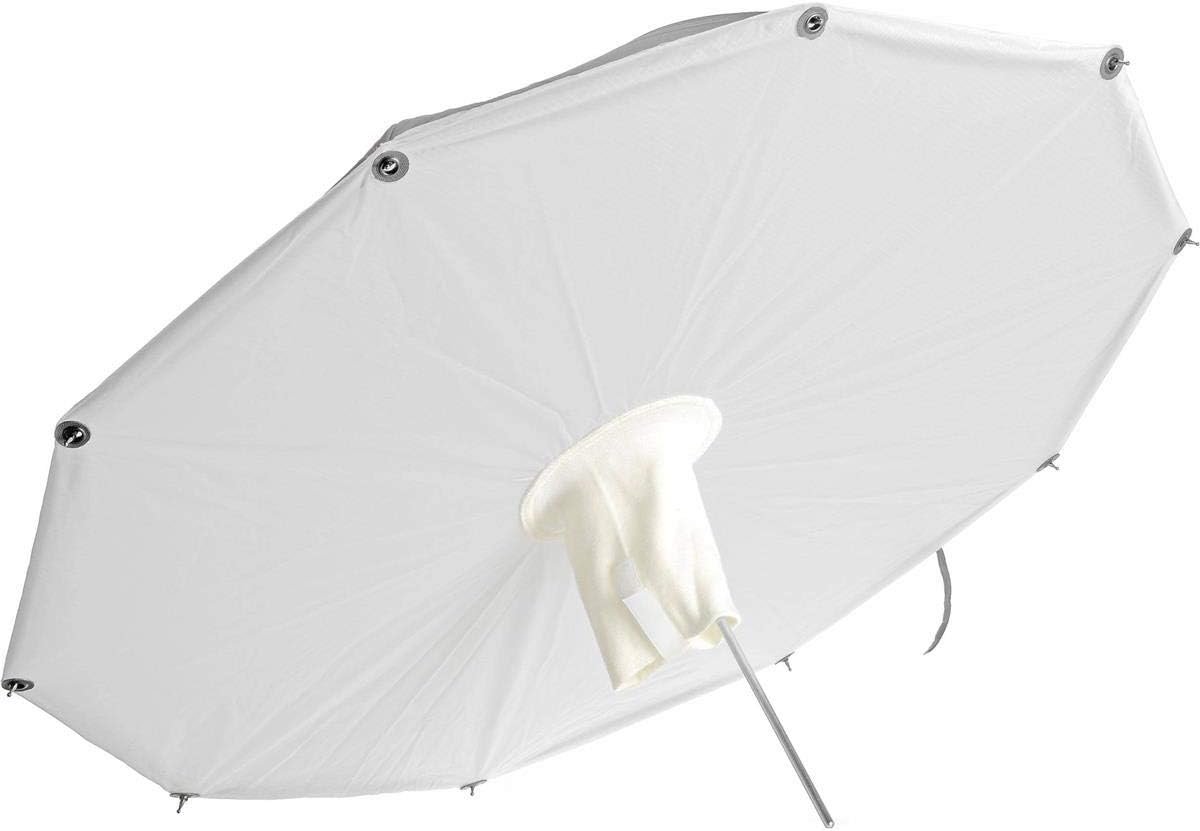
As for the umbrella for controlling the output and look of the main light, I love the Photek SoftLighter 60” umbrella with a diffusion panel and it’s what I use on-location and in the Studio. There are a few reasons why I prefer an umbrella to a softbox, some of which being that they’re cheaper, fold down to a smaller footprint, usually are much simpler to setup, and I like that the light from my strobe hits the umbrella first and then spreads out as it exits, creating less of a hot spot. This, of course, is personal preference, so you can certainly do whatever you like with this one.
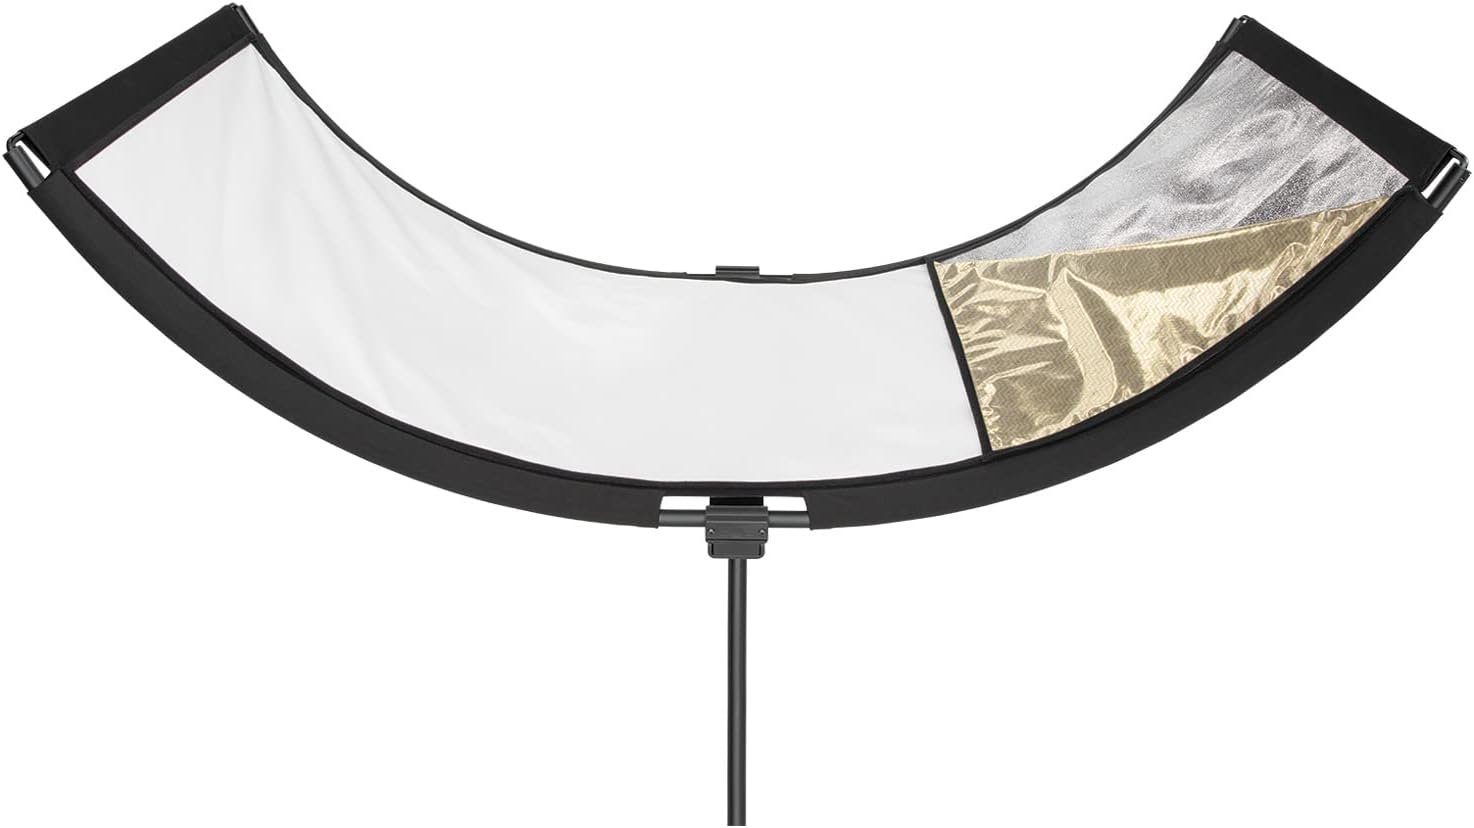
And then I also like having the Westcott EyeLighter 3 to bounce some light back onto the person’s face since we’re only using one primary light in this scenario. But really, this is an extra bonus and these few items should be all you need!
5. Accessories
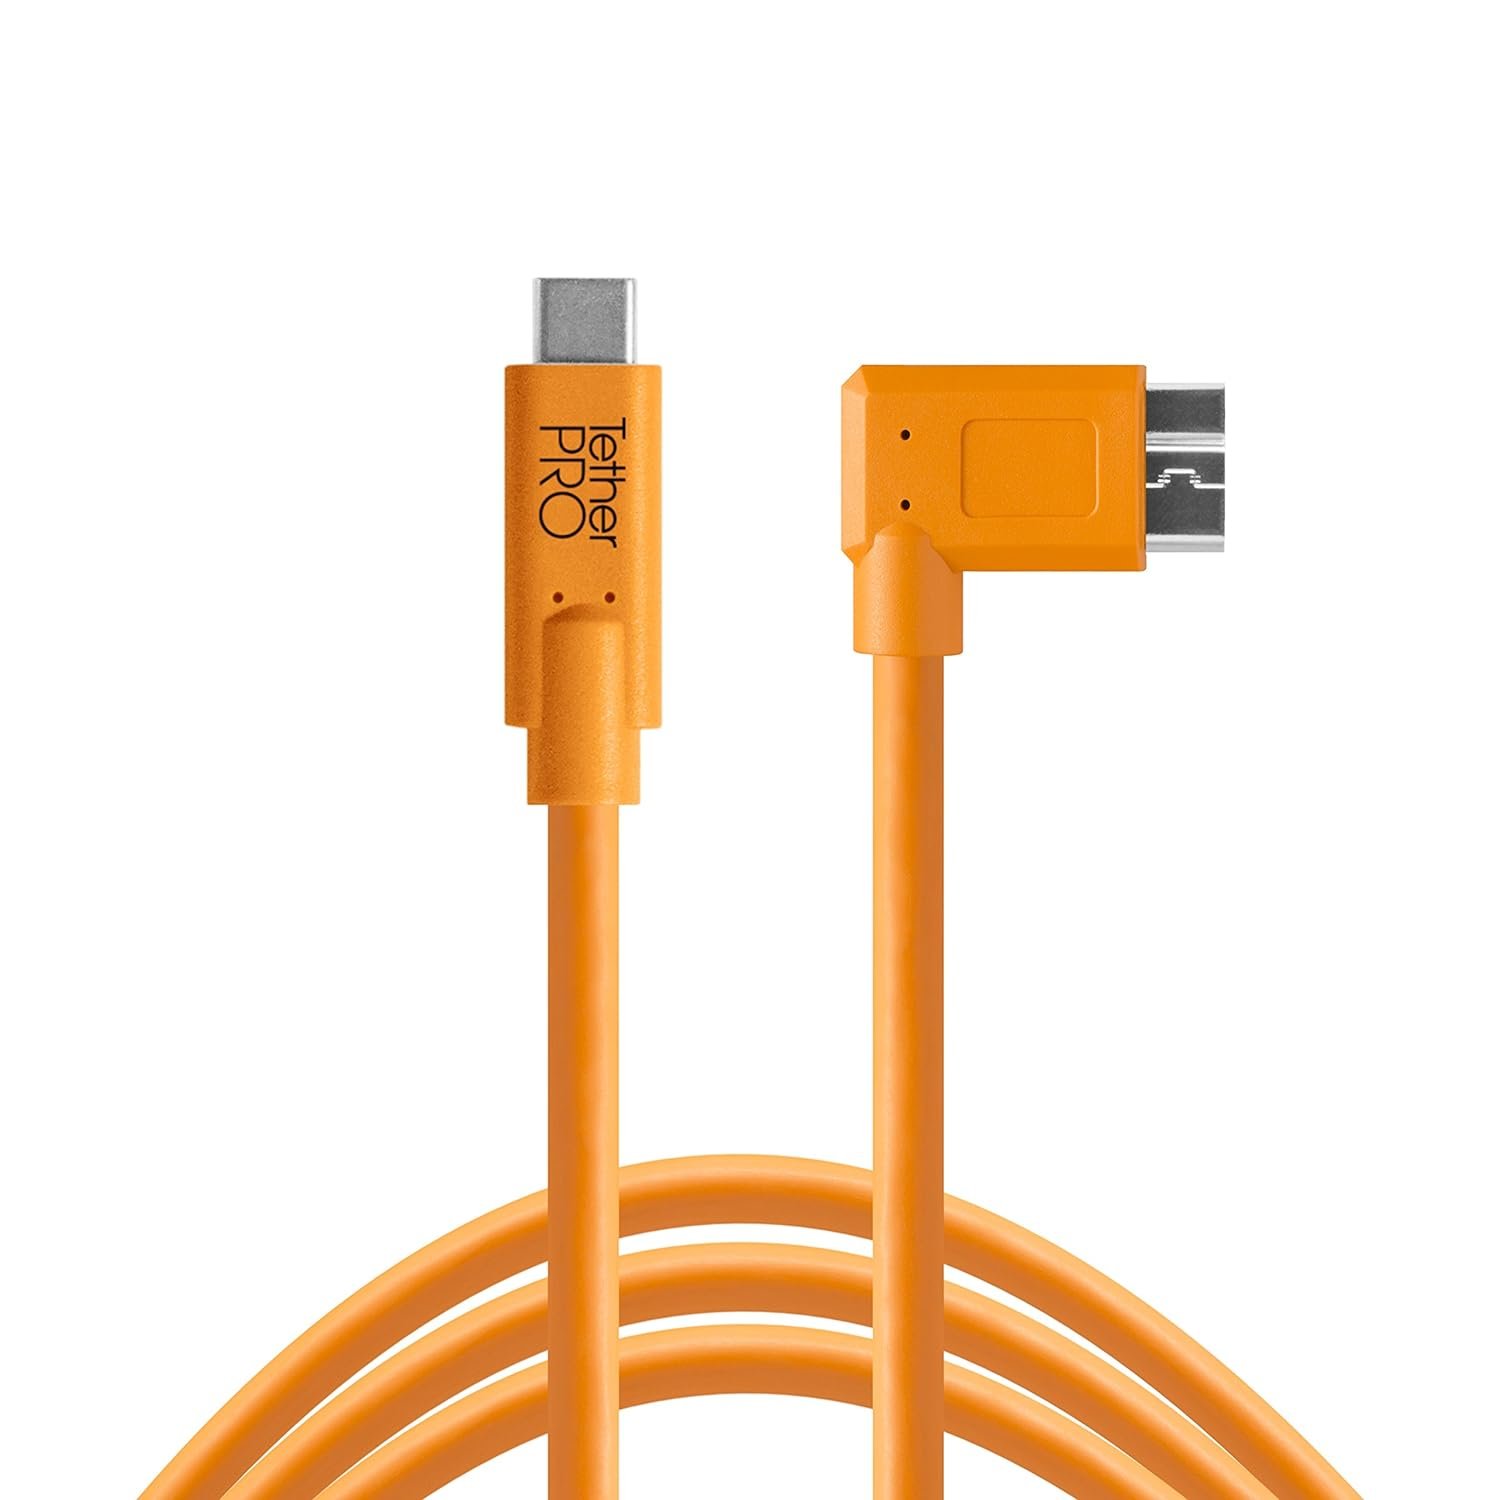
For headshots, I always tether on-site so that the person I’m photographing can view their images right away and let me know if there’s anything we need to change as we go through the session, which isn’t strictly necessary but probably good to aim for as the endpoint. You’ll need a good tether cable (make sure it’s the right kind of connector for your camera and computer) and a laptop to plug it into. You’ll also need image review/selection software, either Adobe Lightroom (great if you already have it as it comes bundled with Photoshop) or Capture One (which is a bit more stable and tether-specific).
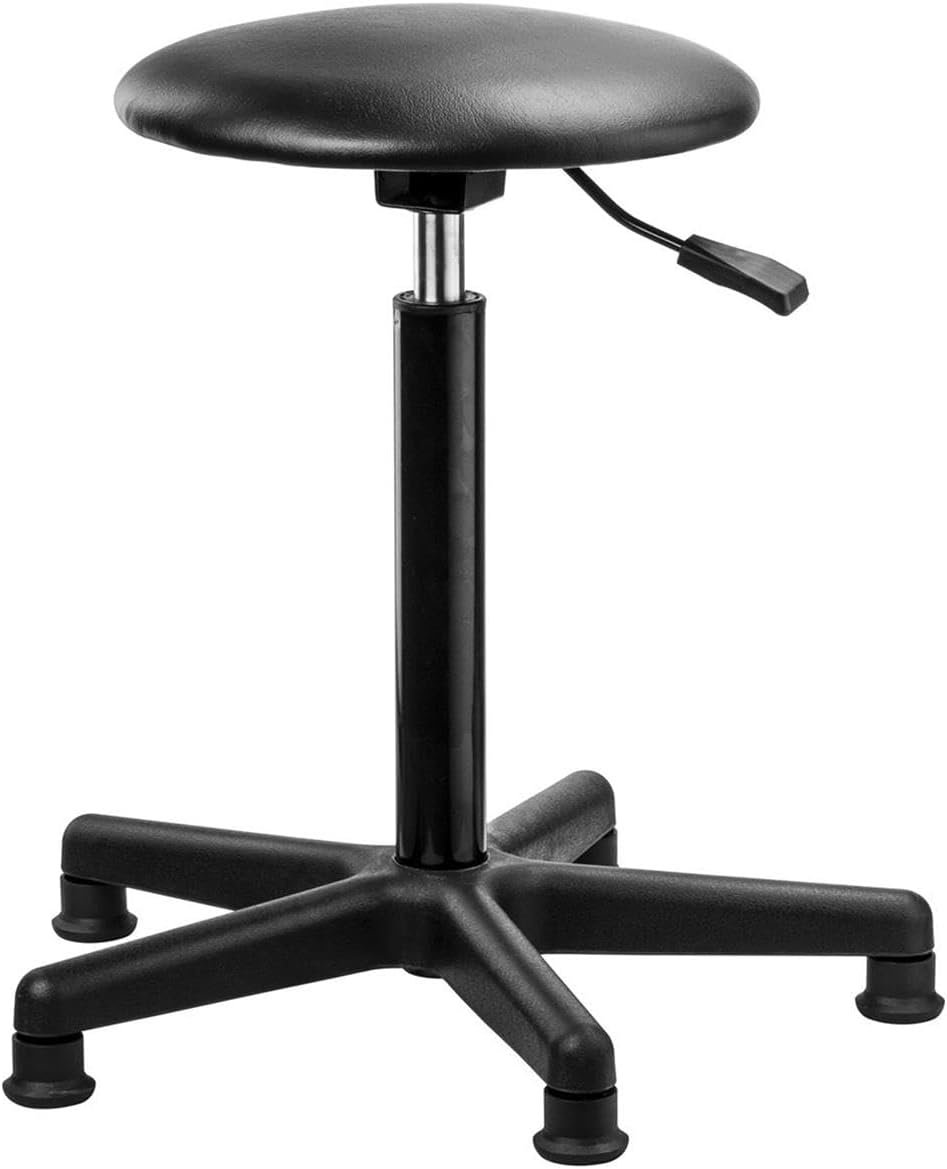
Having a posing stool is also a nice touch, although you can probably find a cheaper option pretty easily. The specific stool below is for posing because it doesn’t have wheels on the bottom and will not slip away when your client tries to sit on it - a potential hazard and liability.
We can certainly dive deeper into accessories but likely a lot of them aren’t 100% necessary - things like a light meter, color checker, and additional lighting and modifiers are nice to have, but not needed. I do always have a lint roller and portable mirror on hand to make sure my clients look their best, so that’s something to consider as well.

Headshot photography probably appears maybe boring or easy to most people who are considering it as a business, but as with everything, to do it well requires quite a bit of learning and study. I hope this Blog post helped you discover what equipment you might need if you’re going down this path and clarify a few misconceptions you might have had about what’s actually needed.
If you’re interested in learning more, feel free to visit my For Photographers section with more Blog posts like this one. And please leave a comment with any questions you might have!